You got a grain mill because you’re serious about your homebrewing. But could it be that you’ve never even thought about cleaning your grain mill? It’s not necessarily a health hazard if you’ve been chugging along for months, crushing up your grains, without a thought about what kinds of residue may be lurking there. But that nasty buildup won’t exactly make for ideal beer, either.
And it’s not just a grain mill that gets a lot of use. Even a brand-new mill needs a thorough cleaning before you put that first batch of grains into it. Think about the dust and other microbes that could’ve accumulated in it while it sat on a warehouse shelf. They’re bugs, not features.
Either way, learning how to clean your grain mill will help you produce a clean, consistent crush for every batch of homebrew.
Show Us Yours
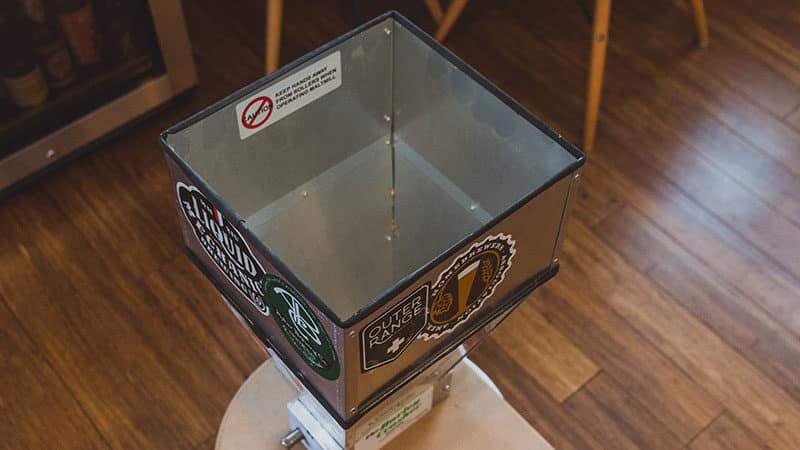
You’ll find a little bit of variety in the appearance of grain mills, but they all perform the same function in one of two ways. Grain is crushed between either a series of rollers or a pair of plates. The mill may be powered by you via hand crank, by an electric drill, or by its own motor. Some hand crank models can also be retrofitted with a motor.
If you’re the type of homebrewer who only brews the occasional batch to enjoy at home, you may want to consider a grain mill with a hand crank and a small hopper—say, six pounds.
Choosing a model that can be upgraded with a motor gives you flexibility, so if you start brewing more often, or you decide to try all grain brewing, you’ll be able to process grain more quickly. Choose a grain mill so grain materials won’t get sucked into it and ignite. Really.
If you have a lot of grain to crush, you can choose an electric mill with a 110-volt motor and large-capacity hopper. These big boys can handle upwards of 60 pounds of grains, allowing you to process your malts in batches, or maybe helping out your homebrew pals by crushing malts for them.
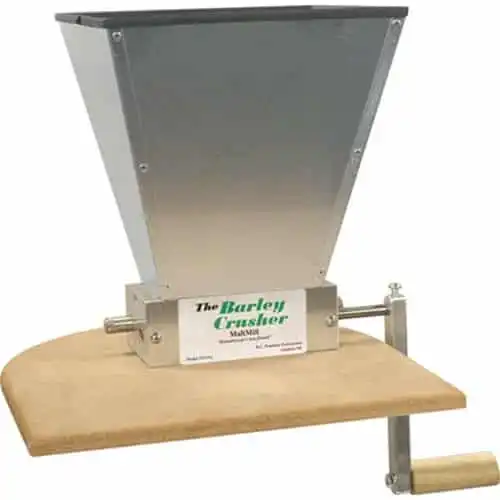
A trusty grain mill for new and advanced brewers. Go old school and use the built-in hand-crank to crush your malt. Or hook it up to a power drill. I recommended getting the bigger hopper to hold more grain.
Your First Time
Your brand-new grain mill might have arrived with a little lubrication in its parts. This is a good thing because it protects the moving parts from developing rust due to humidity encountered during storage and transit. However, you don’t really want that lube making its way into your homebrew, right?
Rid your grain mill of excess oil quickly and easily by running a batch of rice (or grain you don’t mind throwing away) through your mill. When you’re done with that, use compressed air to blast away any rice debris left behind. You don’t want that in your beer either.
Important: Before you start blowing away the dust left behind after a crush, we highly recommend you put on a pair of goggles and a mask.
Ready to improve your all-grain brewing process and dial in your system?
This video course covers techniques and processes for water chemistry, yeast health, mashing, fermentation temperature, dry-hopping, zero-oxygen packaging and more!
Click Here to Learn More
How to Clean Your Grain Mill
If you’ve been brewing your own beer for a while, you may have heard it’s not necessary to clean your grain mill. The advice not to bother cleaning it comes with anecdotal evidence like, “I haven’t cleaned mine for 20 years, and my beer’s fine, so you don’t need to clean yours, either.”
Well, someone might go 20 years without brushing their teeth, too, but we’re willing to bet you wouldn’t want to kiss them. Who wants to craft their homebrew using grains contaminated with mildew, mold, rust, or bacteria introduced by a filthy grain mill? Don’t be that person.
Think of cleaning your grain mill just like tooth brushing—it’s preventive care. It’ll keep your malts clean, your beer tasty, and your machine working for a good, long time.
A Few Things You’ll Need
You don’t need a huge assortment of specialty items, but you’ll want to keep a few basic supplies on hand for cleaning your grain mill.
- Safety Goggles
- Safety Masks
- Brush
- Compressed air
- Lint-free cloth, such as a shop cloth or clean cloth diaper
- Mineral Oil
- A screwdriver for accessing your rollers or plates
Important: The U.S. Department of Agriculture (USDA) classifies specific types of mineral oil as safe for incidental contact with foods, meaning you won’t brew poisonous beer as long as you use food-grade mineral oil.
Basic Grain Mill Cleaning
After you’ve run a batch (or maybe a bunch of batches by now) of grain through your mill, it’ll be covered in dust. First things first—put on your goggles and mask. Things are going to get a little messy.
- Unplug the grain mill if you have a motor-driven model. No one wants to get zapped or crush a digit.
- Wipe away any dust on the outside of your mill using a dry lint-free cloth.
- Remove the hopper and the plates around your rollers using your screwdriver.
- Remove any clumps of grain from the rollers using a brush.
- Blow away any remaining dust with compressed air.
If you’re short on time, you can blast a bit of compressed air down into the rollers while turning them. This won’t replace an actual cleaning, but it will get a good bit of the dust out when you’re in a pinch.
Deep Cleaning Your Grain Mill
Every so often, you really do need to give your grain mill a thorough cleaning. How often you need to do this will depend on how much you use your mill.
If you notice any clumps or if your mill is struggling to turn, a deep cleaning is overdue. Once you get every last bit of residue out, oil it to help keep the mechanical parts moving smoothly.
- Unplug the grain mill if you have a motor-driven model.
- Wipe down the exterior with a clean, dry, lint-free cloth.
- Remove the hopper and the plates around your rollers using your screwdriver.
- Use the brush to clear any sticky debris from the rollers.
- Wipe all interior parts down with a second dry cloth. You don’t want to transfer exterior dust and debris to the interior.
- Give your rollers or plates a blast of compressed air to make sure no grit is left behind
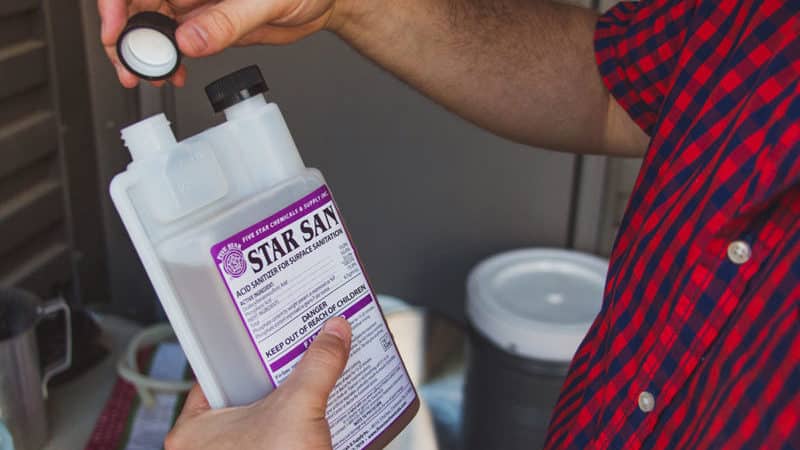
Why not wash this baby down with some brewing sanitizer and a few quick blasts from the hose? One word: rust. Make sure you keep your grain mill dry at all times so the rollers won’t develop rust and become difficult to turn. Not to mention, rust could flake off into your grain, and make its way into your beer. Yuck.
Speaking of moisture, remember humidity in the air can also cause rust to form on metal surfaces over time. To protect your grain mill’s moving parts from humidity and oxidation, lubricate the rollers with food-grade mineral oil.
It’s easiest to reach the bushings while you have your grain mill disassembled for cleaning. Apply just a few drops of oil to the bushing and the metal at the end of each roller.
To keep mineral oil from soaking into your next batch of malt, wipe any excess away with a clean, dry, lint-free cloth. Use just enough to protect the machine without turning it into a slippery, greasy mess.
Tweak Your Crush
Some rollers are knurled to sit at (what the manufacturer considers to be) the optimal distance for an optimal crush. But most grain mill rollers can be adjusted to make the gap between them a little narrower or wider.
You may decide to adjust the rollers if the grain isn’t crushed to the consistency you want, you’re finding a lot of whole grains in your bucket, or you suspect your rollers have shifted with use.
Try to hit a sweet spot with the width of your roller gap. It doesn’t just affect the texture of your crushed grains, but will also affect the lautering process and your yield (efficiency). The smaller the gap, the finer consistency the crushed grains will be. With a larger gap, you’ll have more nearly-whole grains. And that kind of defeats the purpose of using a grain mill, right?
It’s easiest to adjust the rollers right after a deep cleaning. Oil the rollers with food-grade mineral oil, reassemble the grain mill, then adjust them according to the consistency you’re aiming for.
To adjust the gap properly, use a feeler gauge. Extend the gauge blade for the width you desire, then insert it between the rollers. The rollers should pinch the gauge firmly, but not so tightly that you can’t remove it.
Use the feeler gauge to measure multiple spots across the length of the rollers to ensure an even gap. If you don’t have a feeler gauge handy, you can also use a credit card. But maybe use the end without the chip, just in case.
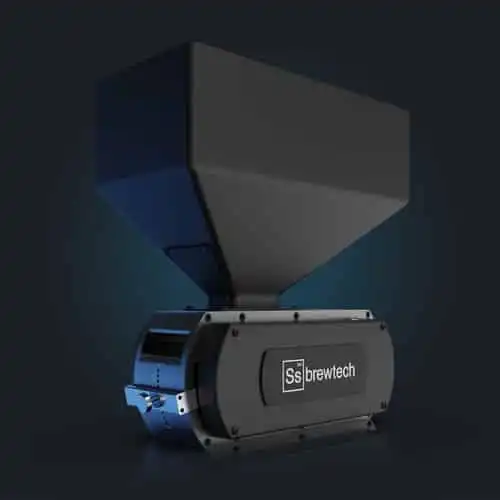
Level up your grain milling with this super-powerful, hands-free grain mill from Ss Brewtech.
A Clean Grain Mill is a Happy Grain Mill
Properly cleaning and maintaining your grain mill isn’t a time-consuming or expensive endeavor. It’s really just about giving your machine a little TLC so it can perform at its best. Evenly milled, clean grains will help you brew your best beer.
Although it’s tempting to just clean your grain mill with a quick blast of air after every few uses, preventive care can go a long way toward ensuring a long, happy life for your mill. And maybe even for you—but we can’t make any promises about that.
Happy Brewing!