If you’ve been homebrewing for a while and find you’re getting tired of washing and sanitizing dozens of bottles at bottling time, you might want to consider learning how to keg your homebrew.
While setting up a kegging system does require an initial investment, it can be worth it when you consider the time you’ll save. Sanitizing a keg is much easier and quicker than dealing with dozens of bottles.
Kegging has advantages beyond banishing bottle cleanup, of course. Draft beer tastes fresher than bottled since air doesn’t stay in contact with the beer in the keg and is instead displaced by CO2. Plus, you won’t have to worry about any sediment from the bottom of a bottle when pouring your beer.
Additionally, with bottled beer, the amount of carbonation can vary and is largely determined by the priming sugar you add.
When you keg homebrew, you don’t need to add sugar as the CO2 provides the carbonation, and you can easily adjust it to your liking. Kegged beer also carbonates more quickly than bottled so you don’t have to wait as long to get to the good stuff.
Essential Equipment to Keg Homebrew
The first step in learning how to keg your homebrew effectively is choosing the right equipment. Unless you have plans for an elaborate setup with multiple kegs and taps, the easiest way to go is to buy an all-in-one starter system, which you can purchase for around $200.
One minor drawback to buying the all-in-one setup is that the CO2 tank will be empty, and you’ll need to have it filled. To do so, you may end up paying a visit to your local welding supply company, as some homebrew shops will only exchange, rather than fill, tanks. Filling a tank is usually more expensive than exchanging, so take this into account when you decide whether to purchase an all-in-one set-up or put one together yourself.
No matter which way you decide to go, you’ll need a standard set of components.
The Keg
The main keg options are the cornelius keg—also known as a corny keg—and the pin lock keg. The corny keg is a stainless steel soda keg used in the commercial beverage industry and comes in a variety of sizes.
Kegs will have two connections, called quick-disconnects. One is for the hose that feeds CO2 into the keg, and the other is for the beverage line that dispenses the beer. It’s important to note for purposes of reassembly that the gas and beer connectors are different sizes.
You’ll also want to take note of which of the two types of keg quick-disconnects your keg uses: ball lock, or pin lock. A ball lock keg uses … you guessed it! … a ball lock quick-disconnect, but corny kegs are available with either option. Whichever you choose, be sure to stick with it, because they’re not interchangeable.
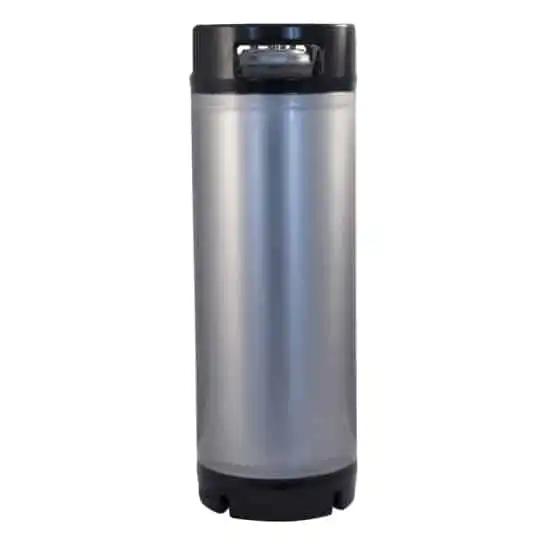
Our recommended corny ball lock kegs for kegging your homebrew. Simple, lightweight, and easy to clean.
CO2 Tank
When carbonating multiple kegs, go with a larger tank. Typically, CO2 tanks range in size from 2.5 pounds to 20 pounds. A 5-pound tank is convenient if you’re only making a keg at a time, and should last for a half a dozen or so batches of beer.
If you wind up purchasing an empty tank and having it filled, check the Department of Transportation (DOT) certification stamp. Tanks need to be re-certified by hydrostatic testing every five years. If you’re exchanging tanks, you won’t have to worry about having this done.
When full, a tank will read around 900 pounds per square inch (psi), depending on the ambient temperature. When the pressure drops below 600 psi, it’s time to exchange or refill your tank.

A simple 5-pound tank to hold Co2. Perfect for kegging, bottling with a beer gun, or pressure transfers.
Regulator
Because a tank of CO2 is under a lot of pressure, you’ll also need a regulator. This is simply a valve that lowers and controls the pressure of the CO2 as it is released from the tank.
The regulator has two dials. One measures the amount of gas in the tank, and the other measures the amount of pressure coming out of the tank and into the keg.
To adjust the amount of gas being released from the tank, simply tighten the screw on the regulator valve by turning it counterclockwise to the desired psi. There’s no need to adjust the screw on the main valve to the tank, only the valve going to the keg.
Note: Always make sure the regulator is tightened securely before you adjust the pressure. High-pressure gas can be dangerous.
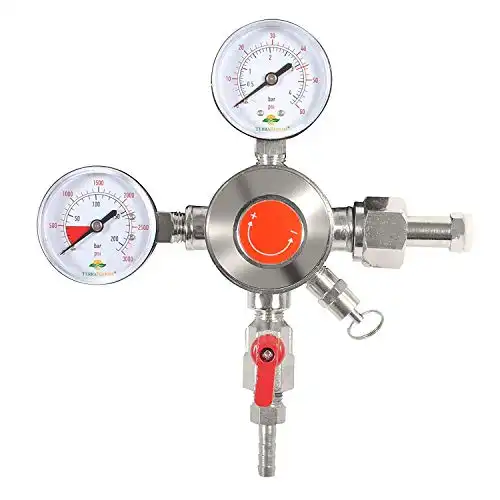
A heavy-duty unit made with two gauges to measure working pressure and tank pressure. Fits all standard CO2 tanks with CGA-320 inlets. Includes a shut-off valve pressure relieve valves to prevent beer from backing up into the gas lines.
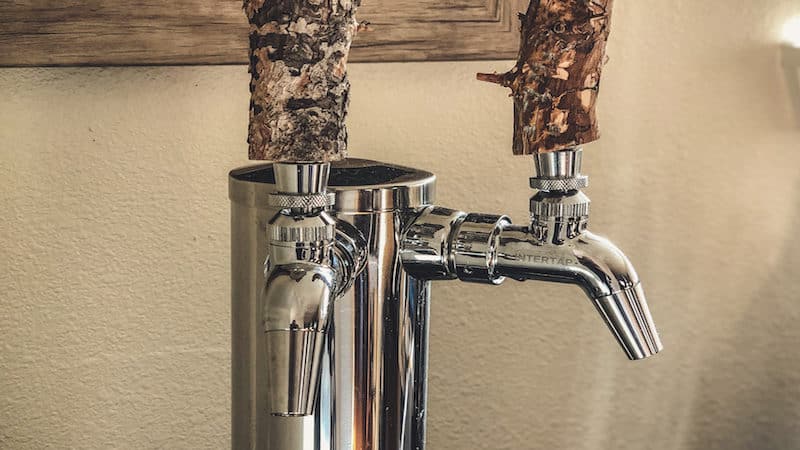
Beer Tap
You’ll need a beer tap or faucet to dispense the beer when it’s ready to serve. The least expensive option is a picnic tap. If you’d like to get more elaborate, you could always build a kegerator or jockey box and attach a nicer tap handle.
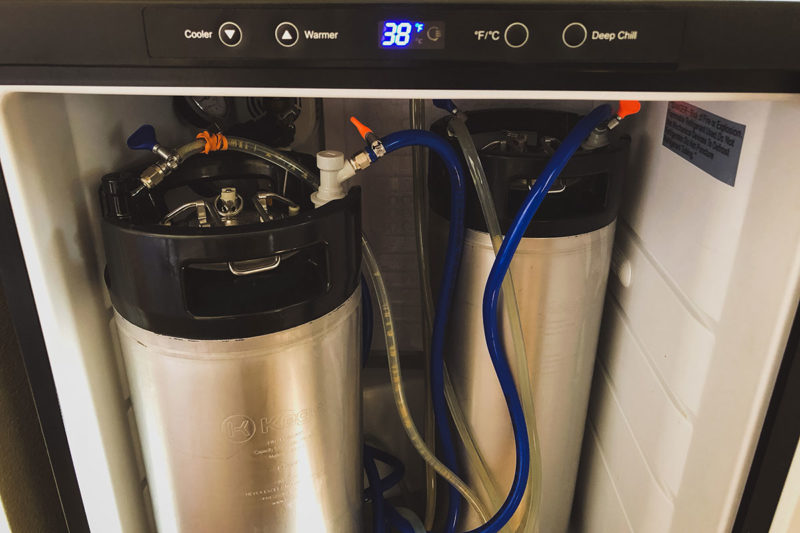
Refrigerator
If you’re going to keg your homebrew, you’ll need a refrigerator or a kegerator with temperature control that you can adjust to temperatures ranging from 33°F to 50°F. You can buy temperature controllers separately if the kegerator you choose doesn’t have that capability.
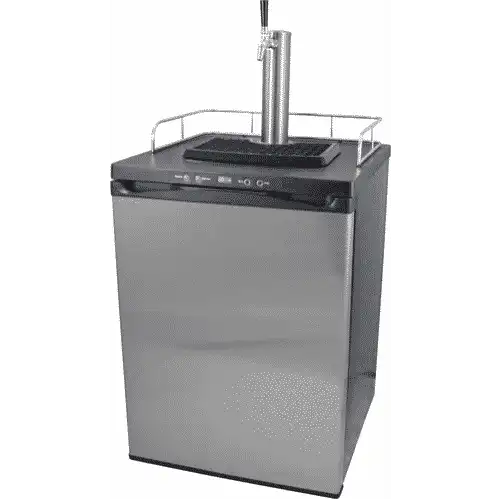
This is the PERFECT homebrew kegerator. Why? Because it comes with Intertap faucets, a digital temperature controller, rolling casters, tower cooling fan, robust MKIII regulator, and more.
How To Keg Your Homebrew
Now that you’ve got an overview of the equipment needed, and once your beer is done fermenting and ready to be conditioned, it’s time to take the final step and get your homebrew properly kegged.
1. Disassemble the Keg
Caution is in order here. Always release the pressure in the keg before disassembling the keg or removing the lid. Most kegs have a release valve for this purpose.
Flying parts under pressure can be dangerous, or even fatal. Take apart all fittings, components and gaskets, being careful to remember where they go so you can easily reassemble everything later on.
2. Clean and Sanitize the Keg
If your keg is new it may seem reasonably clean, but we recommend cleaning it before the first use. You never know what might’ve made its way into the keg on its way to you, and it could be something that could affect the quality and flavor of your beer. When in doubt, clean it!
To remove residue from a used keg, fill it with about 3 gallons of water and 2¼ ounces of Powdered Brewery Wash (PBW).
Place all the components into the solution, and let everything soak for a few hours, or even overnight, depending on how dirty the keg is. Then clean the keg inside and out, and all the components with a soft brush or gentle scrubbing pad as needed. Avoid using scouring pads or heavy abrasives that could scratch and scuff the metal.
Use a narrow brush to clean inside the long dip tube that fits down into one side of the keg. Rinse and reassemble all the fittings, inspecting them for damage or wear as you go. Replace gaskets or O-rings as needed.
Empty the keg, and refill it with a fresh solution of water and PBW. Seal the keg and turn it upside down to clean the top side of the keg. Let it sit for a couple of hours, then empty the solution and rinse thoroughly with hot water to make sure all the residue is gone before sanitizing.
Sanitize the keg by filling the keg full with a solution of water and a good sanitizer for brewing. Seal the keg and let it sit for ten minutes. Then turn the keg upside down and let it sit another ten minutes. Finally, empty the keg and let it drain before filling it with beer.

3. Fill the Keg with Beer
To keg your homebrew, transfer your beer from the fermenter or carboy by siphoning the beer into the keg just as you would with bottling. Avoid unnecessary sloshing of the beer to keep air from slipping in and oxidizing your beer.
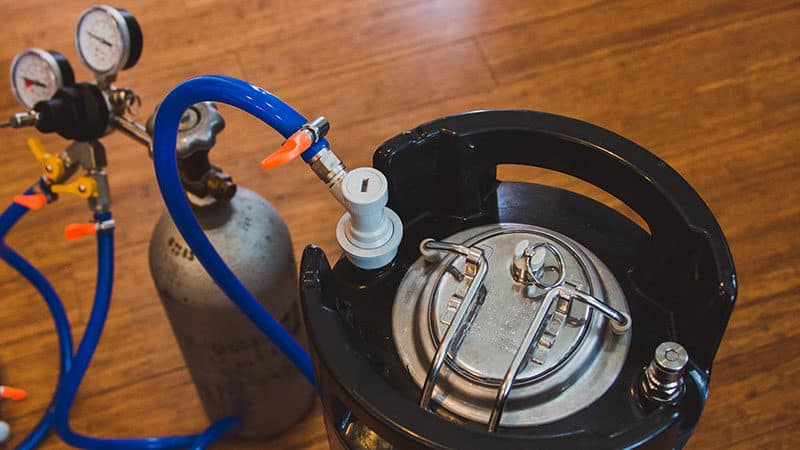
4. Seal and Pressurize the Keg
When fastening the keg lid, be sure the gasket is properly seated and sealed. Connect the gas quick-connect to the body connector on the keg. Turn on the CO2, and set your regulator to 10psi while pulling up on the bail of the lid until it finds its seal and seats properly.
Now, tighten down the bail, and with the gas flowing at 10psi, pull up on the release valve for ten seconds or so. Repeat this a few times in order to displace the oxygen in the keg with CO2.
If you’re refrigerating your beer at 40°F, 10psi–11 psi will give you about 2.4 volumes of CO2 carbonation. If, for whatever reason, you aren’t refrigerating at 40°F, you’ll need to adjust the CO2 pressure because gas pressure varies depending on temperature.
The warmer the temperature, the more pressure you’ll need. You can calculate how much pressure to use with a forced carbonation chart.
5. Refrigerate
The hard part is done, and your beer will carbonate over the course of about a week. If you’re feeling impatient and want to accelerate the process, you can speed things up by agitating the beer or increasing the CO2 pressure temporarily.
To agitate, simply shake the keg around. This allows more CO2 to come into contact with, and dissolve into, the beer. Alternatively, turn up the CO2 pressure to between 20psi and 25psi, and leave it there for 24 hours. Then adjust the pressure back down to between 9psi and 12 psi, and keep it there. Within a few days, your beer will be fully carbonated.
Ready to improve your all-grain brewing process and dial in your system?
This video course covers techniques and processes for water chemistry, yeast health, mashing, fermentation temperature, dry-hopping, zero-oxygen packaging and more!
Click Here to Learn More
Pour Your First Draft Homebrew
When your beer is sufficiently carbonated, it’s time to kick back and celebrate with a refreshing glass of your homebrew.
Not only will it be delicious, you’ll have the satisfaction of knowing you kegged that brew yourself, and took another step toward being a homebrewing master.
Happy Brewing!

![How to Build a Keezer for Homebrewing [Step-By-Step Guide]](https://www.brewcabin.com/wp-content/uploads/How-to-Build-a-Keezer-for-Homebrewing-800x450.png)