You’ve created your wort, pitched your yeast, and fermented it. Now you’ve come back after a week or two to take your legendary lager or astonishing ale through the final step. The only thing standing between you and that first refreshing sip of crisp, bubbly beer is a good priming and bottle conditioning.
When it comes to priming your brew, understanding the ins and outs of priming sugar—the main component in priming solution—is essential to making sure your careful craftsmanship and hard work pay off.
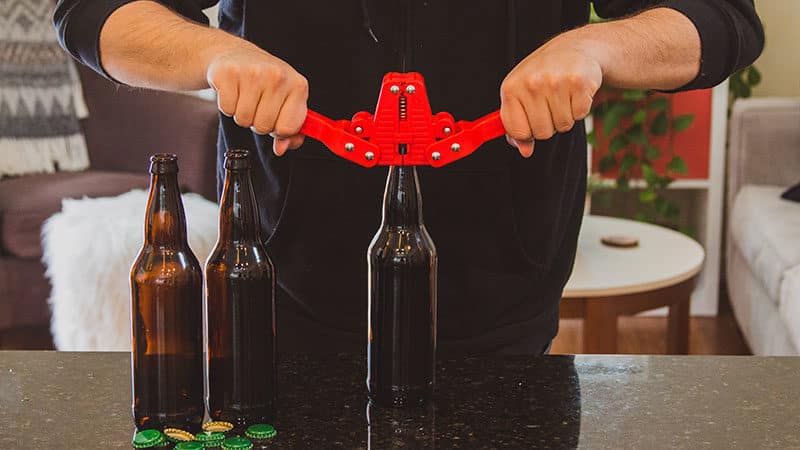
NOTE: Pictured above is the Emily Handheld Bottle Capper made by Ferrari. How cool is that?
Priming Sugar Brings the Bubbly for Bottle Conditioning
While it’s certainly possible to drink your beer without carbonation, to get the best flavors and thirst-quenching zing from your liquid labor of love, you definitely want to carbonate it.
Bottle brewers rely on a priming solution to accomplish this. Adding a sugar-based priming solution to the brew as you bottle it provides food for the yeast to create effervescence over a two-week period as the beer ages in the bottle.
That effervescence is carbon dioxide (CO2). As the yeast feasts on the sugar in the priming solution, it generates CO2, adding bubbles to your brew.
The Right Materials for the Right Homebrew
Your beer already has a small amount of carbonation present from the first two stages of the fermentation process. It can achieve stronger carbonation through bottle conditioning, a final fermentation in the bottle, based on the variety you’ve brewed.
The priming sugar you use is entirely up to you. Three of the most popular types of sugar used to create priming solution are corn sugar (dextrose), table sugar (sucrose), and dry malt extract (DME). While all three provide a source of tasty nutrition for the yeast that will carbonate your brew, each requires a special calculation for maximum efficacy as a primer.
BONUS: We’ve also included a special section on priming with honey, which requires a slightly different approach than other primers.
Ready to improve your all-grain brewing process and dial in your system?
This video course covers techniques and processes for water chemistry, yeast health, mashing, fermentation temperature, dry-hopping, zero-oxygen packaging and more!
Click Here to Learn More
Priming Sugar By the Numbers
Nope, we’re not talking about prime numbers. We’re much more interested in priming numbers—the formulas that let you create the perfect priming blend for your brew.
Setting Your Target Carbonation
Before you calculate the amount of sugar you’ll need to create a priming solution for your brew, make sure you know:
- The residual carbonation present in your brew after a round of fermentation (determined by the temperature at which you ferment your brew).
- The target carbonation for the beer style you’re making.
This info is essential because Residual Carbonation Level + Priming Carbonation Levels = Target Carbonation Level.
Your best bet is to use a carbonation priming chart to help you estimate the amount of carbonation you’d like to add with your priming solution.
Note: The chart we’ve shared also provides some basic recommendations for priming five gallons of brew with dextrose or sucrose at assorted temperatures, but for the nitty-gritty (and a deeper understanding of the process), read on.
Harness the Carbonation Calculating Power of the Internet
Once you’ve established your target carbonation level, you’ll need to calculate the amount of priming sugar needed to produce the desired carbonation.
Homebrewing is as much an art as it is a science, so if you’d rather not spend your days running numbers on a chalkboard like an ’80s movie professor, you can get fast and accurate answers using a priming sugar calculator, which will happily do the math for you.
Carbonation Tablets Take the Pain Out of Priming Your Homebrew
In a real hurry? You can simplify the process of bottling beer by using priming sugar tablets. You’ll get your beer bubbling in no time without having to become the kid from Good Will Hunting.
Added directly to the bottles at bottling time, priming tablets make it as easy to prime one bottle as it is a dozen. You can usually find them in two varieties: straight priming sugar tablets, often called carbonation drops, and conditioning tablets, which contain DME and heading powder (a blend of dextrose and gum arabic designed to promote head retention) as well as corn sugar.
Both are extremely easy to use—just follow the directions on the package.

Whichever variety you choose, you’ll enjoy a number of benefits. Priming sugar tablets:
- provide greater convenience and easy storage, so you can use priming tablets as either a primary source of priming (say that three times fast!) or as a backup.
- eliminate calculation errors.
- reduce the risk of bottle bombs due to over-priming.
- eliminate the need to move your brew from your fermentation vessel to a bottling bucket, reducing the risk of oxidation or disturbing the accumulated trub and yeast cake at the bottom of your fermented brew.
- give you greater flexibility when bottling and eliminate the need to sterilize the sugar.
Caution: Priming tablets trade precision for convenience. You won’t be able to “fine-tune” your primer the way you would with manual calculations, but you won’t have to get out your calculator, either.
If you’re a diehard DIYer, and you want to do everything yourself, including the math, we’ve thought of you, too! Read on to completely nerd out on the numbers.
Or you can skip to the next step in the priming process.
Priming Sugar Formulas for Sweet Success
Sure, you could use that handy priming sugar calculator. Or you could take credit for every single step of the homebrewing process by doing the math yourself. Let’s take a look at the formulas for each of the three popular primers.
The brewer’s rule of thumb for every five gallons of beer is:
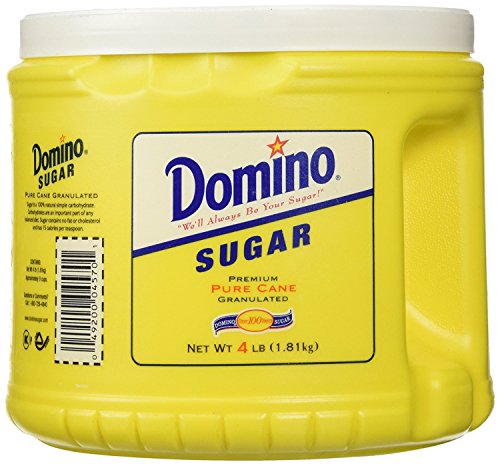
- 3/4 cups (6 ounces, or 113 grams) of corn sugar (dextrose)
- ⅔ cup (5.3 ounces, or 150 grams) of table sugar
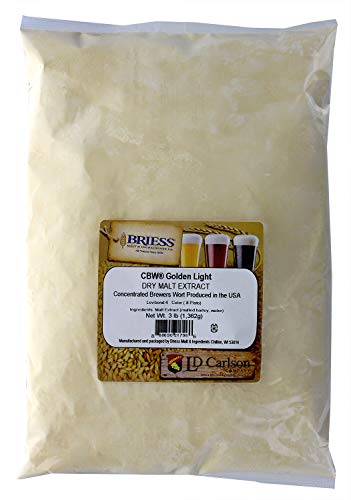
- 1 ¼ cups (181 grams) of light dry malt extract (DME)
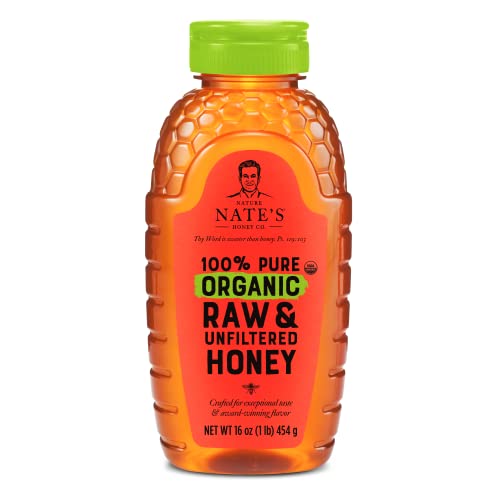
- ½ to 1 cup of honey, which can vary in composition (see below)
These measurements account for the differences in volume and fermentability for each substance, and serve as a reminder that it’s usually best to weigh your ingredients to achieve the best results. But you can fine-tune that with the formulas to make sure you hit your target carbonation and brew the best beer possible.
For each formula, we’ve provided an example solution based on the data from the carbonation priming chart. We’ve used the same beer for all three examples.
Note: These formulas are formatted for the metric system. If you’re using the Imperial system, simply apply the following conversions:
1 gram = 0.035 ounces
1 litre = 1.06 quarts
1 gram per litre of CO2 = 0.5 volumes of CO2
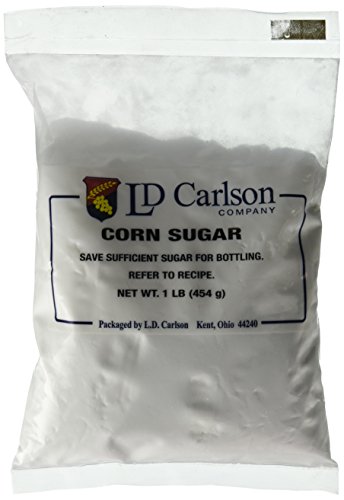
Using Corn Sugar
The most popular priming sugar, standard corn sugar is roughly 9% water, which means only 91% of its mass can be used in calculating the carbonation it will generate. This gives us the following formula:
CF + .5 x (.91D)/VB = CB
Where:
CF is the level of CO2 in your flat brew (in grams/litre), known as volumes or “vols” in the Imperial system.
D is the amount of corn sugar (in grams).
VB is the volume of your brew (in litres).
CB is the carbonation level of your finished beer (in litres), known as volumes or “vols” in the Imperial system.
EXAMPLE SOLUTION: Consulting your carbonation priming chart, you’ll see an American ale fermented at 71° F (21.7° C) has a residual carbonation of .807 (1.58 g/l). You’ve set your target carbonation at 2.6 volumes (5.1 g/l), which is within the range of 2.2 to 3.0 for American ales. Let’s take a look at the formula using the standard 3/4 cup (113g) measurement of corn sugar.
1.58 + .5 (.91(113)/19) = 4.29 g/l, or 2.19 volumes.
That’s a bit low. Adjusting the amount of dextrose to 145g (5.1 oz.), we get:
1.58 + .5 (.91(145)/19) = 5.05 g/l, or 2.58 volumes.
Using Table Sugar
Unlike corn sugar, table sugar has no water in it, so we simply apply the “fifty percent” rule and multiply the amount of sugar by one half in our formula:
CF + .5 x S/VB = CB
Where:
CF is the level of CO2 in your flat brew (in grams/litre).
S is the amount of table sugar (in grams).
VB is the volume of your brew (in litres).
CB is the carbonation level of your finished beer (in grams/litre).
EXAMPLE SOLUTION: As in our first example, we’ll use an American ale fermented at 71° F (21.7° C), with a residual carbonation of .807 (1.58 g/l). The target carbonation is 2.6 volumes (5.1 g/l). Using the standard 2/3 cup (150g) measurement of table sugar, we get the following result:
1.58 + .5 (150/19) = 5.53 g/l, or 2.81 volumes.
This time, the level’s a bit high. Adjusting the amount of sucrose to 130g (4.6 oz.), we get:
1.58 + .5 (130/19) = 5 g/l, or 2.55 volumes
Using Dry Malt Extract (DME)
This primer is a bit different than its sugary siblings, as it requires a bit more calculation to find the correct amount of carbonation it will create.
In addition to the amount, you’ll also need to know the fermentability of your DME, which is also known as the limit of attenuation. This is the amount of material in the DME the yeast in your brew can digest and convert during the final fermentation.
Many DME brands sold commercially will list their fermentability on the package or product sheet. This is known as the apparent fermentability or apparent attenuation. However, to ensure optimal quality, it’s a good idea to multiply the apparent fermentability by .82 to find a value we call the true fermentability, or true attenuation, like so:
.82FA = FT
Where:
FA is the apparent fermentability.
FT is the true fermentability.
Let’s say the DME you’ve chosen for your brew has an apparent fermentability of 75% (a fairly common value). Your DME would have a true fermentability of 61.5%, since .82 x .75 = .615.
Once you know the true fermentability, you can plug it into your calculations for your target carbonation, as follows:
CF + .5FTx (X/VB) = CB
Where:
CF is the level of CO2 in your flat brew (in grams/litre).
FT is the true fermentability of the DME.
X is the amount of DME (in grams).
VB is the volume of your brew (in litres).
CB is the carbonation level of your finished beer (in grams/litre).
EXAMPLE SOLUTION: For this example, we’ll stick with the American ale fermented at 71° F (21.7° C), with a residual carbonation of .807 (1.58 g/l). The target carbonation is 2.6 volumes (5.1 g/l). The true fermentability of the DME in our example is 61.5%. Using the standard 1 and 1/4 cup (181g) measurement of table sugar, we get the following result:
1.58 + .5 (.615(181/19) = 4.5 g/l, or 2.30 volumes.
Looks like the carbonation level is too low. Adjusting the amount of DME to 215g (7.6 oz.), we get:
1.58 + .5 (.615(215/19) = 5.1 g/l, or 2.58 volumes.
Priming Your Homebrew with Honey
Honey has a long history as an ingredient in bubbly brews. While it can be added during the brewing or fermentation phases of beer making to add flavor and character, or it can be used by itself or with other ingredients to create mead, melomel, and other versions of honey wine.
For priming, however, honey requires a slightly different approach than other sweeteners.
Because it has no standard source and can vary in density, composition, and viscosity, honey can be difficult to work with as a priming agent—particularly for first-time or novice homebrewers. As a priming sugar, honey has two rules of thumb:
- In general, darker brews pair best with darker honeys.
- Honeys vary widely, but in general, ½ cup to 1 cup of honey is considered adequate for priming five gallons of beer.
To help reduce the risk of bottle bombs due to over-priming, you can dig into some math. The uncertainty buzzing around honey means the only surefire way to calculate the amount of fermentable sugar (and therefore, potential carbonation) it contains is to calculate its specific gravity.
The specific gravity of a substance is the ratio of its density to that of water (for liquids) or air (for gases). Once you have the specific gravity of your honey, you can compare it to that of sucrose, and then calculate the amount of undiluted honey you need based on your results.
To precisely calculate the amount of honey you’ll need to prime, follow these steps:
- Dilute your honey to create a 10% solution (for example, dissolve 10 grams of honey in 90 grams of water, stirring well).
- With a hydrometer, measure the specific gravity of the honey solution.
- Compare the specific gravity of your honey solution to that of a 10% solution of sucrose, which has a specific gravity of 1.040, and express it as a fraction (i.e., the specific gravity of your solution over 1.040)
- Calculate (or use a priming sugar calculator to find) how much sucrose you need for your brew.
- Divide the amount of sucrose needed by the fraction you obtained in step three. This will tell you how much undiluted honey you’ll need for priming.
EXAMPLE SOLUTION: For our final example, we’ll continue with our American ale, and use the values from our sucrose priming calculations to figure out how much honey we’ll need.
Let’s say the specific gravity of our honey solution is 1.030. That means its specific gravity is .75 that of a 10% sucrose solution (specific gravity is measured relative to 1, so a difference of .03 is 75% of a difference of .04).
As you’ll recall, we needed 130 grams of sucrose to properly prime our American ale. Applying the ratio we obtained from our specific gravity measurements, we get:
130 grams/.75 = 173 grams
We’ll need 173 grams of undiluted honey to prime this five-gallon batch of American ale and achieve the same carbonation volume as we would with 130 grams of sugar.
Once you’ve calculated the required amount, you can treat the honey as you would any other priming solution during bottling.
Note: Due to the small amount used and the fact that the sugars present will be converted to alcohol and carbonation by yeast, the flavors added by honey in the priming stage will be minimal (or even non-existent). Also, boiling honey destroys most of its health benefits as well as its delicate floral notes, so adjust your expectations accordingly.
All these calculations might seem like a bit of an uphill climb, mathematically. But they’re worth the effort to avoid under-priming your beer and leaving it flat and uninspiring. Or worse yet, over-priming it, which can lead to funky flavors and exploding bottles!
How to Make a Priming Solution for Natural Carbonation
Once you’ve calculated the values for your brew’s priming solution, it’s time to create it. Prepping the solution doesn’t take much time or effort, but it does make the bottling process much smoother and improves the chances of high-quality carbonation for your brew.
- In a clean saucepan, bring 16 ounces (.47 litres) of water to a boil.
- Add your priming sugar of choice, and stir until completely dissolved.
- Cover and set aside while you prep your bottling bucket.

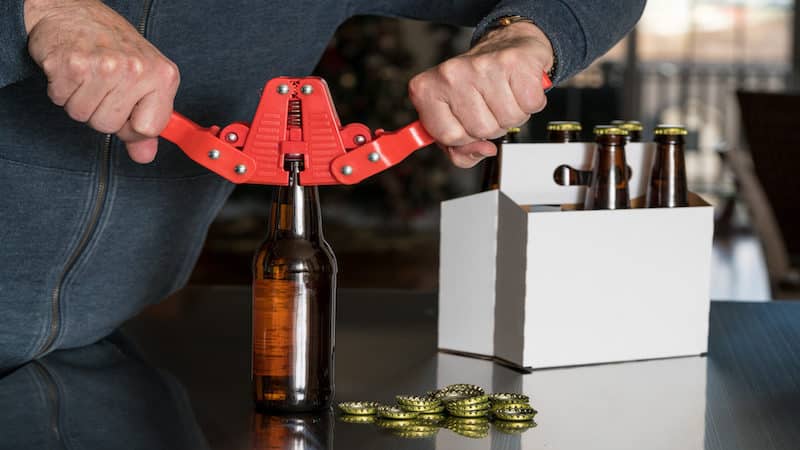
Once you’ve got your priming solution prepared, it’s time to make some magic. Before you begin, take a moment to review your setup for maximum beer bottling awesomeness (and safety).
As with all other steps in the brewing process, you’ll want to make sure the equipment you use isn’t just clean, but also sanitized, so have the right homebrew sanitizing chemicals on hand during priming and bottling.
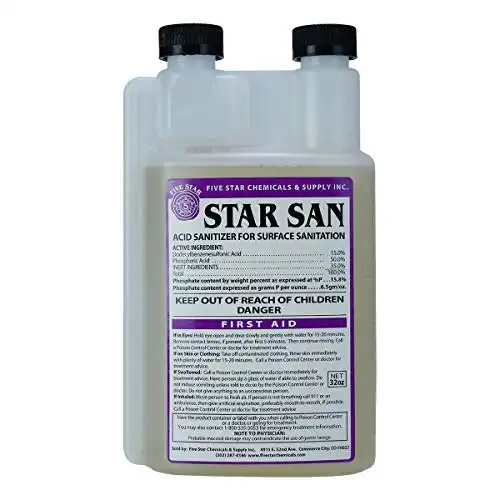
Our recommended NO-RINSE brewing sanitizer (acid-based) of choice with easy measurement built in. Plus, the foaming action helps sanitize all the nooks and crannies. Don't fear the foam!
Once you’re ready to roll, it’s time to turn your brew into beer!
- Double check to make sure your bottling bucket spigot is securely closed.
- Add your priming solution to your bottling bucket.
- Carefully siphon your brew from your carboy into the bottling bucket and mix it with the priming sugar solution.
- Important: Siphon carefully from your carboy to avoid pulling any of the trub (the sediment at the bottom of your brew) into the bucket with the brew, as it can alter the flavor and clarity and ruin all your hard work!
- Move your bottling bucket into bottling position after carefully setting aside your carboy.
- Using a bottle filler, carefully transfer your brew to your bottles, filling them all the way to the top. Removing the bottle filler wand will leave about ¾ to 1 inch of headspace to allow for proper carbonation.
- Cap your beers with a handheld capper and set aside in a dry, room-temperature place so the yeast will remain active and generate carbonation in your beer as they consume the priming sugar solution.
- Wait two weeks (this is the hard part!) for fermentation to complete.
- After two weeks, chill one beer, then crack it open to test it. If it’s not quite there, age the remaining bottles for a few more days. But if that first beer looks, smells, and most importantly, tastes great, it’s time to savor the flavor of your success!
Mastering the sweet science of priming sugar doesn’t have to leave you bitter. The more you brew, the more you’ll get a feel for the priming process.
With thorough notes, careful planning, and a bit of patience, you’ll soon find the sweet spot (pun intended) for all your brews.
Happy Brewing!