You’re always looking for ways to improve the flavor of your homebrew, right? After all, what’s the point of homebrewing in the first place if your beer comes out tasting like watered-down … you know. Well, guess what? You can get better results by adding one small step to your brewing process.
Sure, you could add flavors and adjuncts to change and improve your beer’s flavor. But for you purists out there, all it takes is adding oxygen to your wort, a process called wort aeration. But wait—isn’t part of homebrewing avoiding oxidation? It all depends on when you aerate your wort. Do it right, and you’ll get more complete fermentation, better attenuation, and a crisper, cleaner flavor than you’ve ever produced before.
Wort Aeration and Oxygenation
When you add yeast to your wort and fermentation begins, it may stall out due to a common homebrewing mistake—underpitching. There’s a whole batch down the drain.
Providing extra oxygen to your yeast can reinvigorate it and salvage your fermentation. You have a couple of options to do this.
Aeration
As the name suggests, this process is simply adding air. In order to reproduce, yeast requires oxygen. It uses the gas to produce strong, healthy cell walls. When your yeast is at its healthiest, it ferments the sugar in your wort more quickly and effectively.
The goal of aeration is to force air (which is about 21% oxygen) into your wort to help keep the yeast strong and active once it’s added. To do this and keep the fermentation process from stalling, you’ll introduce oxygen to your wort just before adding the yeast.
Oxygenation
While aeration uses regular ol’ air, oxygenation is performed using pure oxygen from medical or welding O2 tanks. The benefit of oxygenation is that it limits contaminants, which can be introduced via aeration. The tradeoff is it’s more expensive and time consuming.
Oxidation
Not to be confused with oxygenation, oxidation is what happens when you introduce oxygen after fermentation begins. Oxidation is a chemical reaction that results in off flavors sometimes compared to wet cardboard. It’s the reason you may want to use fermentation locks. You can prevent oxidation by introducing oxygen prior to fermentation.
Optimal Oxygen Levels
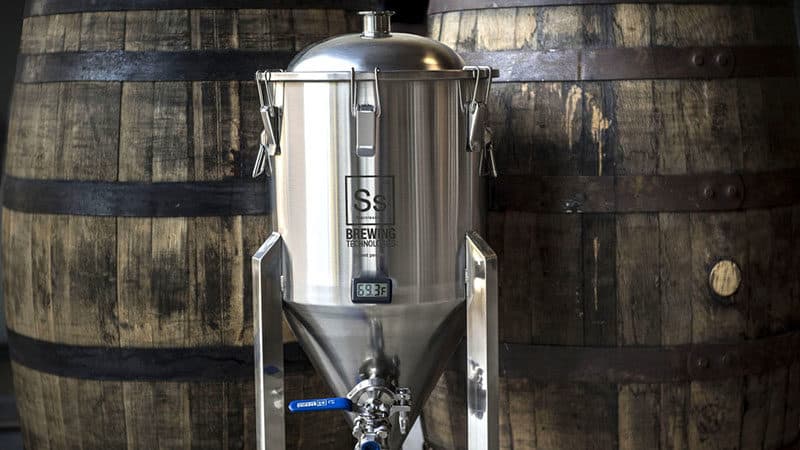
Whether you use aeration or oxygenation, your goal is to reach a dissolved oxygen level of 8 to 10 parts per million (ppm). You can measure this with a dissolved oxygen test kit made for aquariums, or with a led portable dissolved oxygen meter.

Do What To My Wort?
Two approaches to aeration exist: hot side aeration, which takes place before cooling your wort, and cold side aeration, which you do after cooling it.
Hot Side Aeration
This is somewhat controversial. Author and brewer John Palmer explains in his book How to Brew that adding oxygen before cooling could allow oxygen to bond with other elements in your wort (and later break free in your beer), causing darkening, oxidation, and “off-flavors and aromas like wet cardboard and sherry” in your finished beer.
While Palmer and his book are well-respected homebrewing resources, his take on hot side aeration may not hold true in practice. The team over at Brülosophy conducted a hot side aeration “exbeeriment” (damn it, we wish we’d come up with that one!), which resulted in no negative effects on their brew’s flavor.
Ultimately, it’s up to you to choose which method works best for your beer, workflow, and preferences.
Cold Side Aeration
For this method, you’ll cool your wort down to a maximum of 70°F (21°C) for ales, 50°F (10°C) for lagers, before introducing oxygen through your preferred aeration method. You can do this quickly with a wort chiller. Next, you’ll add yeast and allow fermentation to begin.
It’s pretty straightforward and only requires you to be patient through the cooling period, something you’d do regardless of whether you aerated your wort.
Ready to improve your all-grain brewing process and dial in your system?
This video course covers techniques and processes for water chemistry, yeast health, mashing, fermentation temperature, dry-hopping, zero-oxygen packaging and more!
Click Here to Learn More
Wort Aeration Techniques
Over the years, homebrewers and large breweries have come up with several methods of getting oxygen into wort.
Old School Splashing
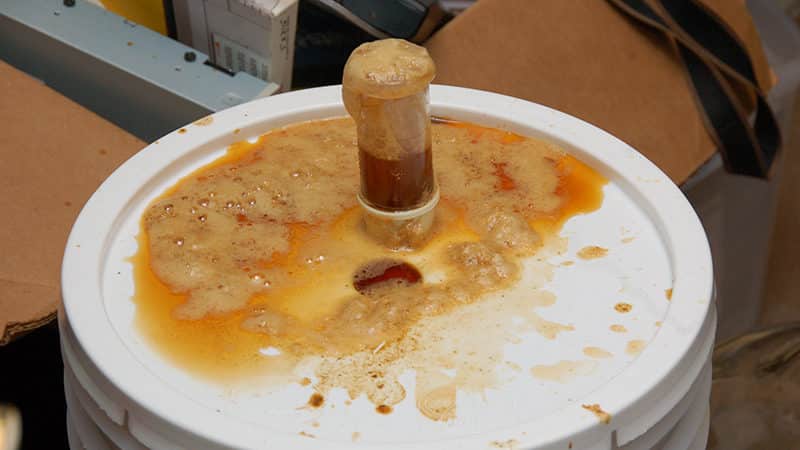
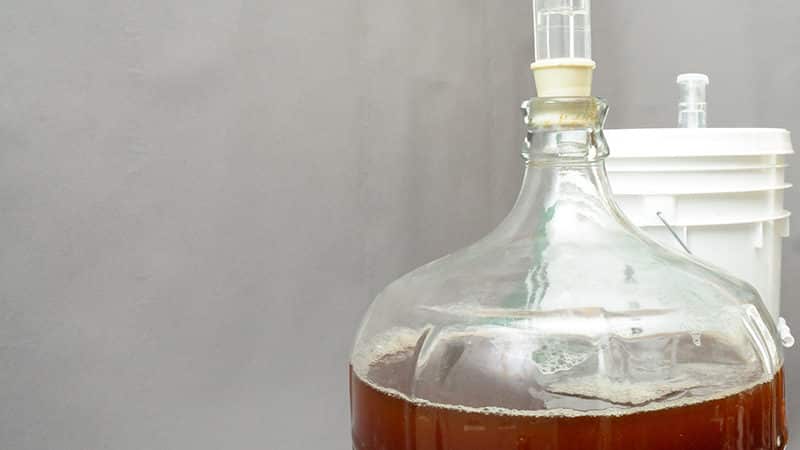
This totally free, easy method maximizes air exposure of your wort. After cooling, you just pour it back and forth between your brew kettle and fermenter a few times. Really slosh it around, so it gets frothy from the air bubbles you create.
If you ferment in a carboy and are strong enough to do so, you can even just pick it up and shake it for a bit.
Variations on this method also work by exposing the wort to as much ambient air as possible.
- Venturi Effect: Place a pair of clamps close together toward the end of siphon. Create a small hole between the clamps. As you siphon the wort into your fermenter, the movement of the fluid through the hose will draw air in through the hole, infusing the fluid with air bubbles. This will work whether you use a bucket or carboy for fermentation.
- Diffuser: For just a few dollars, you can purchase a little plastic doohickey, usually just called an spray aerator. It attaches to the end of your beverage tubing, so as the wort reaches the end of the hose, it fans out, increasing surface area and air contact.
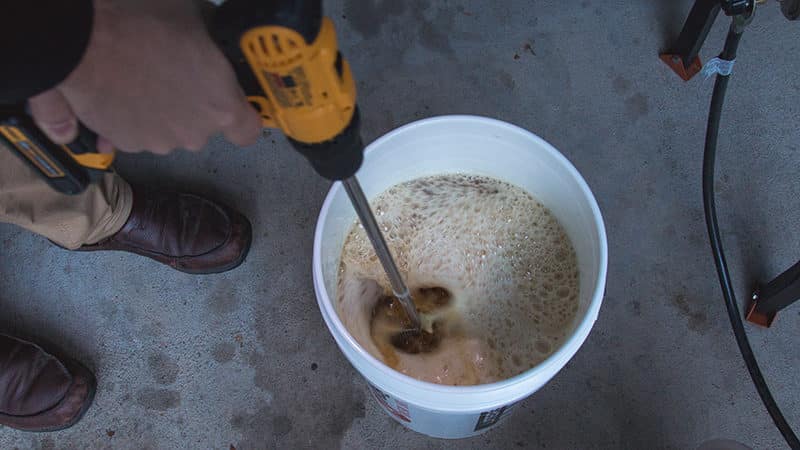
- Electric Mixer: If you’ve got a drill, you can attach a degasser (made for wine) or a sanitized paint stirrer to whip up the wort in your bucket. Some degasser rods will even fit in carboys.
Warning: Be sure to plug your drill into a ground fault circuit interrupter (GFCI). If any wort splashes out onto your drill, the outlet will trip so you won’t get zapped.
These splashing methods increase your wort’s oxygen saturation by subjecting it to the ambient air. But the air around us isn’t pure oxygen. In addition, it contains bacteria and other gross stuff you don’t want in your beer.
These methods will work just fine when your budget is small or you’re just getting into homebrewing, but more advanced techniques are well worth trying when you decide to move on up.
Oxygen Stones and Aquarium Pumps
When you start feeling a little uneasy about shaking your carboy around like a caveman, you can move up to a gentler, more mechanical method of aeration without shelling out a ton of cash.
Oxygen stones are little diffusers with barbs or threads on one end allowing them to fit securely in the end of your siphon hose. They’re actually not made from stone, but particulate metal that’s melted and compressed into a porous cylinder.
An oxygen stone can be left in place while flushing your lines after each use, so you don’t need to remove it for cleaning. The amount of air allowed in is determined by the size of the holes in the stone, which are measured in microns.
For aquarium pump wort aeration, two-micron stones are ideal.

A simple 2-micron carbonation stone to carbonate your beers faster. This is not the same as an oxygen aeration stone. Those are 0.5-micron.
Because the pump must be powerful enough to push air through the stone, it’s best to get a air pump. Connect the pump to your hose, and install an oxygen stone on the exit end. As air is forced through the stone, small bubbles are formed, foaming the wort. You can even get setups with HEPA filters in the line to minimize airborne bacteria.
You can also use a scuba tank to supply air to your oxygen stone. Scuba tanks are just filtered air, so it’s roughly 21 percent oxygen, but quite clean. They’re pressurized, so you need a regulator to avoid blasting air into your wort at lightspeed—that would be a huge mess.
Oxygen Stones and Oxygenation Systems
These systems introduce pure oxygen to your wort similarly to the scuba tank method, but using 99%–100% oxygen from a pressurized tank.
Because these systems are more powerful (and have a higher concentration of oxygen), you’ll need oxygen stone. Some very fine oxygenation stones must be sanitized by boiling, so they must be removed for cleaning.
This method will get you to optimal oxygen saturation in minutes.
In-Line Oxygen Injection
Commercial breweries use systems that inject pure oxygen from pressurized tanks through filtered hoses into the transfer tubing. As the wort flows through the tube, oxygen is forced in through a T-connector.
In-line assemblies also use a diffusion stone, plus they typically have a gauge that allows the brewery to read the temperature of the wort as it flows through.
The good news is, you can purchase in-line oxygen injector to use at home. They’re faster and just as effective as other methods. They’ll usually run you about $100, and you’ll have to buy oxygen.
Must-Have Wort Aerators
Knowing all the methods of getting oxygen to the yeast for optimal fermentation is one thing. Figuring out which tools to buy is another entirely. So we did the work for you.
1. Eagle Brewing Aerator
For less than a single Hamilton, you can buy this invaluable gadget. Attach it to the fermenter end of your ⅜-inch transfer tubing, then get your wort moving.
As it hits the end the liquid fans out, exposing significantly more of it to air. You’ll get plenty of oxygen into your wort without shaking your carboy around, and possibly dropping that heavy thing.
2. Vortex Carboy Cleaner and Wort Aerator
This rod attaches to any standard power drill, and the two paddles fold flat so it can be inserted into a carboy or a bucket. Reach the perfect oxygen saturation rather than minutes of shaking.
Bonus: this model comes with microfiber pad attachments, so you can also clean the hard-to-reach spots inside your carboy with it.

3. MoreBeer! Aeration System
Save yourself a trip to the pet store with this wort aeration kit that takes the place of an aquarium air pump. It includes the pump and tubing with an in-line sanitation filter.
This uses ambient air rather than air from an oxygen tank. For this reason, you’ll need to leave this system in your beer for at least half an hour to reach dissolved oxygen levels of 8 to 10 ppm.

4. The OxyWand
This 26-inch aeration wand is a steel tube with an oxygen stone on one end and a place to attach your ¼-inch beverage tubing on the other. The wand makes it easier to get your oxygen stone down to the bottom of your carboy.
You can use this 2-micron version with deep-water aquarium pumps, and the oxygen stone fitting is designed to be easy to remove and boiled for sanitization.

5. OxyWand Oxygenation kit
The OxyWand is perfect if you want to use compressed air or oxygen tanks with your wand. You’ll still enjoy the ability to place your oxygen stone at the bottom of your carboy, plus easily remove it for boiling when you’re done.
The kit includes a brass regulator, air filter, and four feet of tubing. The wand measures 26 inches, and will help you reach oxygen saturation in as little as one minute.

6. NY Brew Supply Oxygenation Kit with Stainless Wand
You’ll get a 22-inch wand and four feet of silicone tubing. Adjust the flow with the included brass regulator. You’ll need to supply the oxygen, though.
The kit also comes with a 0.5-micron oxygenation stone, and an air filter to help keep airborne particles out of your wort.
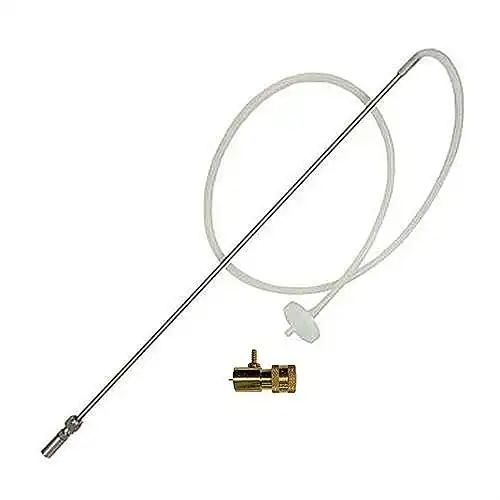
Aerate your wort with an easy to sanitize wand with an oxygen stone.
7. Stainless Steel In-line Oxygenation Assembly
When you’re ready to invest in a pro tool for wort aeration, this is perfect. It’s made entirely of stainless steel and has a thermometer built in.
This assembly lets you inject pure oxygen through a 2-micron stone straight into your wort during transfer. It’s so good at what it does, the manufacturer recommends transferring half your wort before beginning oxygenation.

But Does Your Wort Really Need Aerating?
You could brew without it, but fermentation could also take you two years. Okay maybe not that long, but it will feel that way when you start getting thirsty and your yeast is just hanging around, like a smelly roommate who never does the dishes.
Giving the yeast the 8 to 10 ppm oxygen saturation it needs to reproduce strong cells aids in better attenuation and a faster, more complete fermentation. It lowers the risk of off flavors due to oxidation and stuck fermentation. You really can’t go wrong.
Well … with just one exception. High-gravity brews with high pitch rates are less oxygen-soluble than those with lower original gravity. You would need to aerate them for a long time with little to no positive impact on the outcome of the beer. High-gravity beers are sometimes best crafted without wort aeration.
Get Ready for Flawless Fermentation
No matter which wort aeration method you choose, it’s not too difficult to reach optimal oxygen saturation in just a few minutes. That small investment of time goes a long way toward preventing stuck fermentation and eliminating nasty flavors in your finished beer.
Who wouldn’t trade five minutes for cleaner, tastier brew?
Happy Brewing!