After patiently brewing and fermenting your homebrew, all that stands in your way is bottling your beer and allowing it to condition. Done properly, these final steps will ensure your beer has time to finish developing its flavors while carbonating, and that all your hard work was worth it.
Bottling beer has a reputation for being time consuming, tedious, and messy, but it doesn’t have to be an I Love Lucy episode. It’s easier than you might think to bottle your homebrew with minimum mess and no stress.
The Right Time for Bottling Beer
The rule of thumb for a primary fermentation of homebrew is between 7 and 14 days. However, bottling beer too early is just one of many potentially disastrous homebrewing mistakes that can befall the unwary brewer. To hedge your bets, you can harness the power of science and measure your homebrew’s gravity.
No matter the style you’re brewing, the best time to bottle your beer is when it has reached its final gravity, which will be specified in your recipe. The final gravity is the specific gravity—the ratio of your wort’s density as compared to water—of your brew at the end of primary fermentation. You can test it using a hydrometer or refractometer.
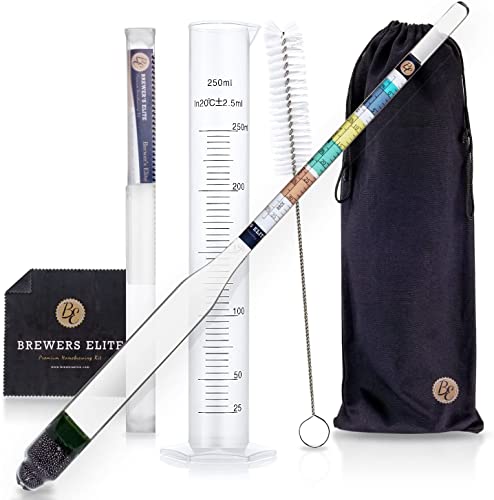
This Brewer's Elite Triple Scale Hydrometer & 250ml Test Jar - Combo Set is the perfect tool for any homebrewer. Our durable all-glass design makes it easy to read, and our graduated color bands help you know when your brew is ready. Plus, our Crystal clear fonts are so easy to read.
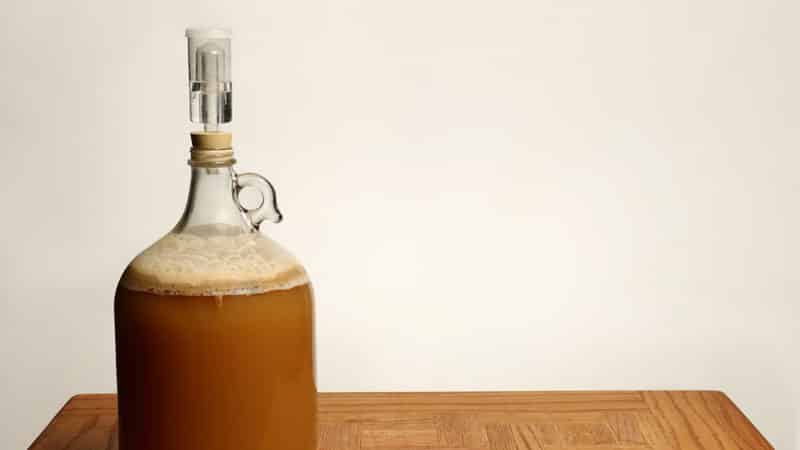
Your beer also gives you some visual clues that it’s ready to bottle. After your primary fermentation, the yeast in your beer has converted nearly all of the available sugar into alcohol. When the yeast stop eating, they also stop producing CO2, which means the bubbles in your airlock should slow significantly or stop altogether.
If your brew is near the recommended fermentation time, and you notice the bubbles have disappeared, it’s time to test the final gravity and prepare to bottle.
Supplies for Bottling Beer
Before you can transfer your heavenly homebrew into the bottle, you’ll need to collect a few supplies.
- No-rinse brewing sanitizer
- 12 oz. glass bottles (12 bottles for each gallon of beer)
- Bottle Caps
- Bottle capper
- Priming sugar tablets (also known as conditioning tablets)
- Auto-Siphon
- Food-Grade Vinyl Tubing
- Bottle filler (also called a bottling wand)
You might want to grab a friend or two, while you’re at it. Bottling beer by yourself is absolutely possible, but the process is much faster—and a lot more fun—if you have someone to help you. Fortunately, humans have a history of being pretty easy to recruit with the promise of beer.
Ready to improve your all-grain brewing process and dial in your system?
This video course covers techniques and processes for water chemistry, yeast health, mashing, fermentation temperature, dry-hopping, zero-oxygen packaging and more!
Click Here to Learn More
Bottling Your Beer
Outfitted with supplies, a friend or two, and your beer, you’re ready to bottle.
Prepare Your Equipment
As with all steps in the homebrewing process, successfully bottling beer starts with cleaning and sanitizing. Before sanitizing, inspect all of your equipment, and clean anything that appears visibly dirty.
Sanitation kills germs, but it won’t remove crust, gunk, or any other funky fragments, so a good cleaning is essential.
Tip: If you save and reuse beer bottles, be sure to rinse them out thoroughly before you store them. It will make cleaning and sanitizing them before your next batch much easier.

Prepare Your Work Area
When selecting the spot where you’ll be bottling your beer, keep a few things in mind. First, siphoning your beer requires gravity. We mean the non-specific sort that keeps water flowing downhill. Fortunately, Earth has plenty, so all you need to do is keep your bottles below the shelf, table, or countertop that’s holding your homebrew.
Second, bottling beer can be messy, especially the first few times you try it. If you’re filling your bottles on the floor, try putting down a clean towel, a tarp, or a cookie sheet to catch spills and make clean-up easier.
Sanitize Your Homebrewing Equipment
Once you’ve cleaned all your bottles, your gear, and your work area, it’s time to sanitize. The quickest, easiest way to sanitize is using a no-rinse brewing sanitizer. While bleach is just as effective and may be less expensive, it needs a thorough rinsing unless you want your beer to have a lovely chlorine bouquet. This takes extra time, wastes water, and adds the risk of contaminating your beer, unless you rinse with sterile water.
To sanitize your equipment, fill a clean sink or bucket with water, then add 1 oz. of sanitizer for every 5 gal. of water. Fully submerge your bottles, siphon, vinyl tubing, bottle filler, and bottle caps, and let them sit in the solution for at least 60 seconds.

Our recommended NO-RINSE brewing sanitizer (acid-based) of choice with easy measurement built in. Plus, the foaming action helps sanitize all the nooks and crannies. Don't fear the foam!
It’s a good idea to sanitize a few more bottles than you expect to use. Few things are more frustrating than having to find, clean, and sanitize more bottles when you’re right in the middle of the bottling process.
Be sure to give your work surface a thorough wipe with sanitizer, too.
After 60 seconds, you can take your sanitized equipment out of the solution, and set it all out to air dry. Don’t rinse, and don’t panic if you see foam—it’s normal and won’t affect your beer.
Prepare Your Priming Sugar
To bottle your beer quickly and with minimal math, priming sugar tablets are a dream come true. These tiny pellets can be added directly to each sanitized bottle to provide a food source for your yeast during conditioning.
Each bottle automatically gets the same amount of priming sugar, so you’ll be bottling beer more quickly and easily than with a priming sugar solution you’d have to measure out for each bottle.

Skip the Rack
When you siphon your beer from one vessel to another, you’re racking it. During the traditional bottling process, racking your beer mixes the priming solution into the beer without creating oxidation that can ruin your brew. It also separates the beer from the sediment in the bottom of your fermentation vessel.
Racking beer can be slow and messy. Fortunately, you can skip it since you’re adding conditioning tablets directly to each bottle and don’t have to worry about thoroughly mixing your priming solution. And since you’re using an auto siphon and a bottle filler, your beer will be passing through two filters on its way to the bottle, minimizing the risk of sediment transfer.

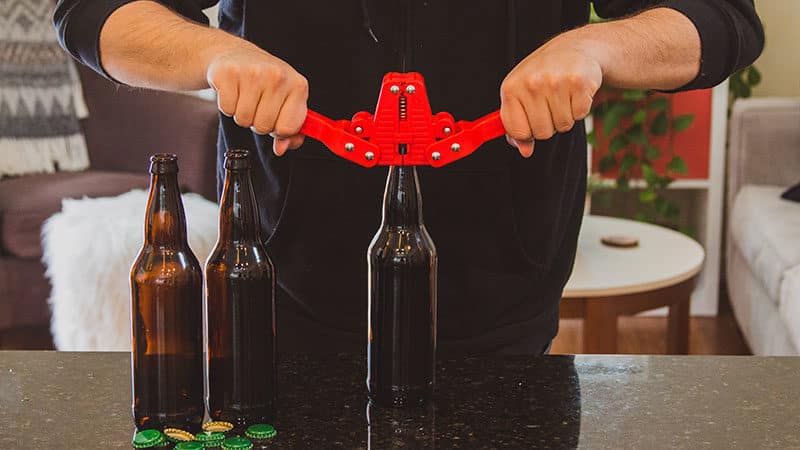
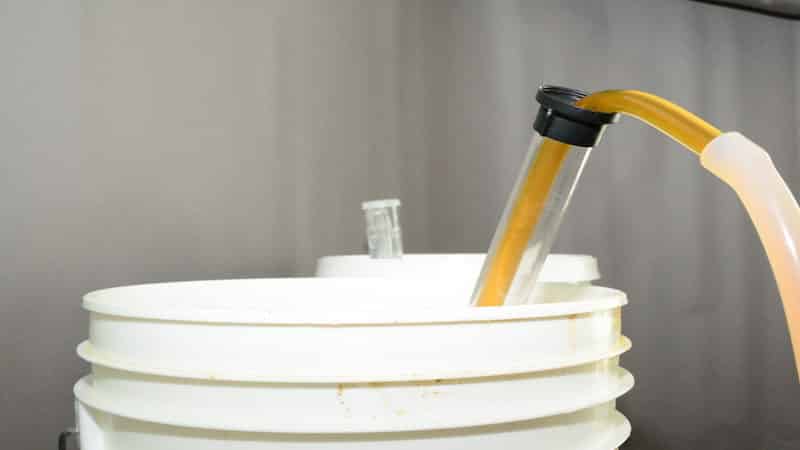
Fill ‘Em Up!
Attach one end of the vinyl tubing to the auto-siphon and the other end to the bottle filler. Place the auto-siphon into your beer, and pump the filler’s inner wand to start the flow.
To fill each bottle, place the bottle filler into the bottle, then press down on the tip to open the spring loaded valve. Fill each bottle nearly to the top—but not overflowing—and then lift the wand to stop the flow.
When you remove the filler wand, you’ll have about an inch of headspace at the top of the bottle. This leaves plenty of room for expansion as your beer carbonates.
Note: If you’ve recruited a bottling buddy or two, they can move on to the next step while you continue to fill bottles.
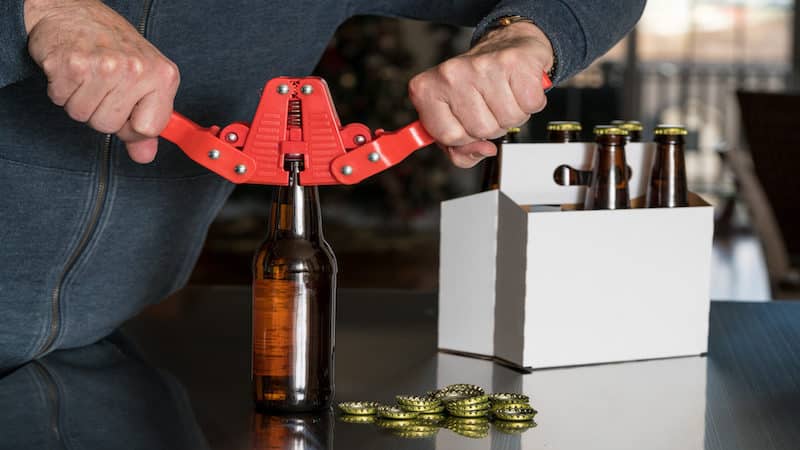
Cap and Store Your Bottled Beer
Place a sanitized bottle cap onto each filled bottle, then use your bottle capper to seal the capit by pressing down on both handles. Once the bottle’s properly sealed, it should be easy to remove the bottle capper. Repeat until all the bottles are capped.
Organize your bottles in cardboard six-pack holders, then place them somewhere cool and dark while they condition.
Note: If you’ve tested your homebrew’s gravity and used the recommended amount of priming sugar, you shouldn’t have to worry about exploding bottles. It happens to the best of us, though, so store your bottled beer in a safe place that allows for easy clean up. You can also place a large baking tray or tarp, or both, underneath the stored beer. It’ll save you some headaches by catching most or all of the mess if a bottles overflow.
After the Beer Bottling is Complete
During bottle conditioning, the yeast will feast on the priming sugar, carbonating your homebrew and allowing its flavors to develop. The general rule of thumb for bottle conditioning most homebrews is about 14–28 days.
Temperature and the overall environment can affect fermentation, though, so it’s a good idea to test your beer before you transfer the whole batch to the fridge for drinking.
After two weeks, open up a bottle and give it a try. If you hear a hiss of escaping carbonation and enjoy the beer’s taste, it’s ready to go. If not, check a new bottle every few days until you’re happy with the level of carbonation.
Once you’re satisfied with the results, place your bottles in the fridge and get ready to enjoy your finished beer. Don’t forget to share the wealth with your brewing buddies—although they’ll probably remind you themselves.
Bottling beer doesn’t have to be a messy chore. Taking the time to measure your beer’s final gravity, using the right tools and techniques, and recruiting a few friends makes it easy to bottle your beer while saving time and frustration.
Happy Brewing!