Everyone loves a good homebrew. But when you ask “Who wants to learn how to clean a brew kettle?”, the list of volunteers grows pretty short.
Your brew kettle is where your wort begins its transformation into beer. Not giving it a proper clean is one of the most common homebrewing mistakes you can make, regardless of your skill level. But don’t fret—it’s a straightforward process that’s easy to master with a little patience, the right tools, and an eye for detail.
Why Cleaning a Brew Kettle Matters
Your favorite vessel for boiling your wort is a bit like a bathtub, in that both tend to accumulate rings if they aren’t cleaned after use. After a boil, your kettle accumulates an assortment of organic and inorganic matter at the bottom. This gunk is called trub.
It’s the homebrew equivalent of “ring around the bathtub.” And while it’s definitely important to keep it out of your beer, it also needs to be cleaned out of your kettle as soon as your wort’s been transferred to your fermenter or keg.
The hops and malts in your wort leave fats and proteins in the kettle, while hard water can leave mineral buildup, making trub a one-two punch of potential problems.
When minerals and proteins combine, they can form an ugly, tenacious compound known as beerstone that clings to your kettle and other brewing equipment like a second skin.
Brewing with a dirty kettle can introduce unintentional odors and flavors into your beer. Plus, even a slight beerstone buildup on the bottom of your kettle can change how it conducts heat. This affects evaporation rate and boil time which, in turn, can affect the gravity and hop profile of your beer.
Trub in your brew kettle is gross to behold. But also look out for any gunk that’s left on the handles or the rim. It can be another potential source of contamination in your beer.
Note: One problem a dirty kettle can’t cause is yeast contamination. Heating your kettle during the brewing process kills any bacteria that might be living in the crusty remains of your last batch of wort. That said, when you know how to clean a brew kettle (and why), giving it a thorough scrub after every brew becomes the sensible choice.
When to Clean Your Brew Kettle
Another thing your bathtub and your brew kettle have in common is that they’re easiest to clean immediately after use. As with all your homebrewing equipment, your best bet is to thoroughly clean your brew kettle every time you brew, right after you brew.
The longer you wait to clean it, the more caked-on all the proteins, minerals and assorted gunk will become.
Ready to improve your all-grain brewing process and dial in your system?
This video course covers techniques and processes for water chemistry, yeast health, mashing, fermentation temperature, dry-hopping, zero-oxygen packaging and more!
Click Here to Learn More
How to Clean a Brew Kettle
Once you’ve transferred your wort to your primary fermenter and your airlock is securely fastened, it’s time to start cleaning.
A Few Things You’ll Need
You don’t need much to give your kettle the clean it deserves.
- Dirty brew kettle
- Warm water
- Powdered brewery wash or oxygen brewery wash
- Non-abrasive scrubbing pad

Empty Your Kettle
Pour a bit of water into your kettle to thin out the gunk on the bottom, then pour the thinned remains down the drain. Pour slowly so you don’t overwhelm the drain. If you have a disposal and/or clear pipes, you shouldn’t have a problem with this step. If you have trouble getting your sludge down the drain, add more hot water and pour more slowly.
Better yet, dump the trub right onto your compost heap, or dispose of it outside without worrying about harming the environment. It’s all biodegradable—you just don’t want it degrading in your kettle.
Once your kettle is free of sludge, give it a good rinse with tap water.
Important: If you do choose to dispose of your brewing byproducts outside, be 100% sure no pups will get into the mess—hops are toxic to dogs.
Fill Your Kettle with Water
Once you’ve rinsed out the kettle, refill it with warm water. You don’t have to hit a precise temperature, but water between 130°F and 180°F (54.4°C and 82.2°C) will give you the best performance.
Since your kettle is probably larger than most other vessels in your kitchen, it helps to have a large utility sink for filling. But if your kettle won’t fit in your sink, don’t worry—your shower or bathtub works just fine.
Once you fill your kettle, it will be heavy and hard to move without a bunch of sloshing, so plan ahead, and fill your kettle wherever you plan to clean it.
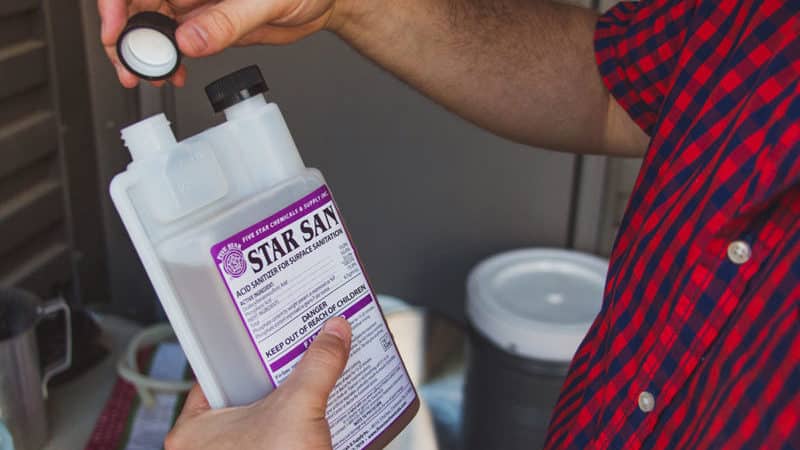
Add Kettle Cleaner
You might think to yourself, “Why do I need a special cleanser for my kettle? Can’t I just use dish soap?”
Nope. Do not wash your kettle with dish soap. Soap and a bit of scrubbing will remove organic crud from your kettle, but you will still be left with inorganic mineral deposits.
Also, dish detergent can leave soapy residue and flavors in your kettle, which will end up in your next batch of homebrew—blech.
To remove both the organic and inorganic residues from your kettle, you absolutely do need a specially formulated detergent designed to tackle both types of compounds.
Powdered brewery cleaners are alkaline, and their high pH gives them tremendous cleaning power against protein-based grime, mineral scale, and general dirt.
Alkaline detergents also use active oxygen to combat both types of compounds. The oxygen helps in reducing biochemical oxygen demand (BOD) and chemical oxygen demand (COD) in wastewater from your brew, which helps protect the environment.
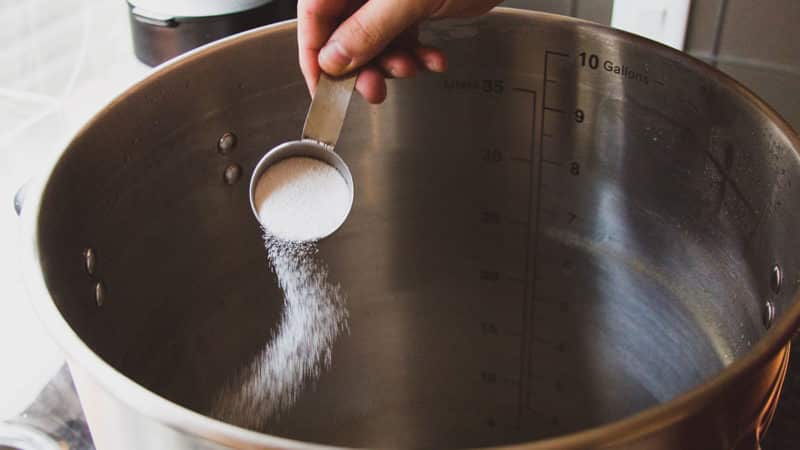
Add one to three ounces of cleaner per gallon of water in your kettle. The dirtier the kettle, the more cleaner you’ll need.
If you truly want to clean your kettle like a professional, an alkaline powdered brewery cleaner is your best bet. But let’s face it: homebrewing can get expensive. As a result, you might be interested in non-specialized, peroxide cleaners as a less expensive (but still effective) alternative to alkaline powdered brewery cleaners.
Like powdered brewery cleaners, peroxide cleansers are percarbonate-based detergents. They use oxygen to break up fats and oils. Alkaline powdered brewery cleaners are generally made using stronger percarbonate than oxygen-based cleaners.
They also include a few extra ingredients (like sodium metasilicate and chelating agents) designed specifically to tackle mineral deposits. Depending on your views on how to clean a brew kettle, the lower price tag may make up for the additional product you might have to use when cleaning.
If you want to try a peroxide-based cleaner, you can substitute it for powdered brewery cleaner 1:1. The only significant difference is that you’ll have to fill your kettle with very hot water, since peroxide-based cleaners don’t dissolve in cool water the way alkaline powdered brewery cleaners do.
Let It Soak, Let It Soak, Let It Soak
Powdered brewery cleaner can work wonders in as little as 30 minutes. But soaking your kettle overnight gives you an even deeper, more thorough clean. The more junk in the bottom of your kettle, the longer you should let it soak.
Tip: You can toss the rest of your brewing equipment into your kettle to soak as well. These alkaline cleaners are safe and effective on metals, glass, and plastic. They can make your life much easier when it comes to hard-to-clean equipment like siphon tubes, airlocks, and strainers.
Add Some Elbow Grease
Most of the time, soaking is enough to completely clean your kettle—no scrubbing required. But if your kettle’s really dirty and needs a good scrub, be sure to use a non-abrasive scrubbing pad.
Steel wool, stiff brushes, and scouring pads can scratch your kettle, creating crevices for bacteria and dirt to hide.
Rinse and Dry Your Brew Kettle
When the soaking and scrubbing is done, dump out all the dirty water. Give everything a good rinse with fresh water, then dry your kettle with a clean, lint-free shop towel. Make sure the kettle is completely dry before putting it away.
Taking the time to give your kettle a thorough cleaning after every brew will help prolong the life of your equipment. It’ll protect the flavor and finish of your homebrew, too, and free you to focus on what you do best: crafting great beer.
Happy Brewing!