One of the things we love most about being homebrewers is having control over not just the finish and the feel of a brew, but the flavor. And whether you’re a dedicated tinkerer, forever modifying the secret recipe for your homebrew with herbs and spices, or a straightforward type who loves the bitter crispness that comes with dry hopping your beer, one flavor you might not want in your beer comes from the chemical diacetyl.
In homebrewing, as in life, patience is a virtue, and to keep this rogue agent of flavor on a tight leash, you’ll need to master what’s known as a diacetyl rest. This rest is more important for some beer styles than others, but it’s particularly important for lagers.
The key to protecting your lager’s flavor is first knowing what diacetyl is and what it does, and then how to counter it with the stationary phase, also known as the diacetyl rest.
What is Diacetyl?
Famous for producing a rich, buttery flavor, diacetyl is one of more than 500 chemical compounds produced when yeast ferments your favorite brew. It’s a ketone, a type of organic compound that’s created when alcohol is oxidized—for example, by yeast during fermentation. Those same yeasts can naturally process diacetyl and convert it into compounds that are relatively flavorless to humans, but it takes time.
Folks in the popcorn and other snack food industries rely on diacetyl as a flavoring, but as a homebrewer, you’re probably uninterested in its charms (unless you’re a fan of Harry Potter butter beer).
Diacetyl in Beer: What Causes That Buttery, Off Flavor?
The level at which a human can detect the taste or smell of something is called the absolute threshold. Diacetyl’s absolute threshold is pretty low at around 0.001 parts per billion (ppb), meaning it doesn’t take much for you to be able to smell or taste it.
Many homebrews can have diacetyl levels of up to 1 part per million (ppm), meaning you may wonder whether you’re drinking beer or alcoholic melted butter. This is why dealing with diacetyl is so important.
If you’re getting unwanted flavors in your lager and you want to give that buttery aftertaste the boot, you’ll need to understand where the diacetyl is coming from in the first place.
1. Yeast Varieties
Throughout its storied history, the humble fungus we call yeast has been used by humans to raise our bread and brew our beer.
But the type of yeast you use when brewing your lager can have a major effect on diacetyl production.
Different strains of yeast have different abilities when it comes to managing nutrients, for example, some will produce excessive amounts of acetolactate—the chemical precursor to diacetyl—in the same conditions that other strains won’t.
While all yeast produces diacetyl, you can reduce the risk of buttery intrusion by choosing a yeast strain that’s known to produce low levels of it, like this low diacetyl yeast.

2. Nutrient Levels
What you feed your yeast can be as important as the kind of yeast you choose when brewing. Yeast are amazing little critters, in that they will harness compounds in their environment to make food if they can’t find any.
But this process can also produce unwanted compounds. For instance, yeast can synthesize the nutrient valine—an amino acid—in a pinch, but they also produce acetolactate when they do, which means your beer now has more potential diacetyl waiting to form.
Adding yeast nutrients when you pitch your yeast can boost your yeast’s powers of fermentation, help keep acetolactate production to a minimum, and reduce the risk of diacetyl production.

3. Contamination
A word sure to strike fear in the heart of even the hardiest homebrewer, contamination can come from any number of sources, but improperly sanitized equipment is one of the most common.
The culprit in this instance isn’t yeast, but nasty little invaders known as Lactic Acid Bacteria, or LAB. These little guys are anaerobic (which means they don’t need oxygen to live) and they love heat. Consequently, they’re practically forming a line to jump into the nearest available homebrew and start picking out wallpaper.
Worse yet, the diacetyl produced by LAB isn’t just buttery, but sour, eggy, or even metallic! They’re known as “beer-spoilage bacteria” for good reason.
To combat them, make sure you’re using a quality sanitizer for brewing. If you’re worried about contamination, leave some yeast behind when you’re bottling beer. Those yeast won’t kill the marauding LAB, but they WILL continue processing any diacetyl the LAB produce, reducing funky flavors.

Our recommended NO-RINSE brewing sanitizer (acid-based) of choice with easy measurement built in. Plus, the foaming action helps sanitize all the nooks and crannies. Don't fear the foam!
4. Skipping the Diacetyl Rest
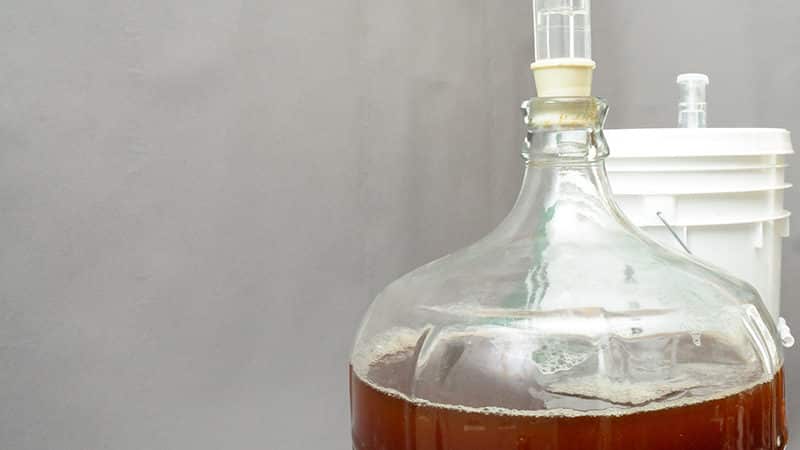
A surprising culprit in the creation of unwanted flavor compounds in your beer is time. Resist the urge to give your lager the shortest possible ferment. Your brew needs time to mature and develop, and that’s why the diacetyl rest is so important.
The yeast in your fermenting wort has three phases:
- The lag phase, in which they’re settling in and adapting to your wort.
- The log phase, in which growth explodes logarithmically (hence the name), and your yeast starts processing the sugars in your wort into alcohol and producing the assorted compounds that go along with it.
- The stationary phase, where everything slows down again, and the yeast begin to break down the compounds they made in the log phase into other compounds.
The final phase is key to eliminating the distinctive taste of diacetyl and rescuing your brew from a name like “I Can’t Believe It’s Not Lager!” But that takes time, especially for lagers because they have lower fermenting temperatures than ales, for example, and the diacetyl breakdown process slows down at lower temperatures.
Ready to improve your all-grain brewing process and dial in your system?
This video course covers techniques and processes for water chemistry, yeast health, mashing, fermentation temperature, dry-hopping, zero-oxygen packaging and more!
Click Here to Learn More
How to Perform a Proper Diacetyl Rest
Time and temperature are your allies in this battle, with longer times and higher temperatures improving the performance of your yeast as they break down the diacetyl. Here’s how to perform a diacetyl rest:
- Begin when your wort’s specific gravity is within 2 to 5 points of its terminal gravity, or the final gravity of your finished lager.
- As your primary fermentation draws to a close, plan on a two-day diacetyl rest (or longer) to allow the yeast to do their work.
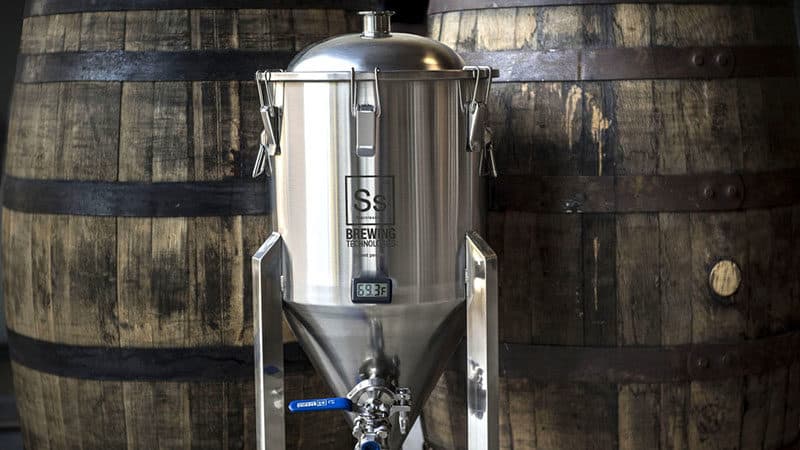
- For the final two days of fermentation, raise the temperature of your wort to between 65°and 68°F, which will increase yeast activity and help polish off any remaining diacetyl. You can raise the temperature by moving it to a warmer location and letting it warm up on its own, using a warm-water bath, or with a carboy warming jacket or carboy heater.
After two days, you can test your wort and, if it’s where you want it to be, bottle it or rack it for lagering in cold storage. If it’s not, continue the rest until you’re satisfied.
Testing Your Beer’s Diacetyl Levels
Having summoned supreme patience and tested your ironclad will, you’ve completed your diacetyl rest. Now it’s time to test your brew and see if the Margarine Marauder—a name for diacetyl we just made up—is truly gone.
The test for diacetyl is pretty straightforward:
- Collect two three-ounce samples of beer and seal them in jars.
- Mark the jars A and B, or 1 and 2, or Batman and Robin—whatever you like, so long as you can tell them apart.
- Pop the first sample into the fridge.
- Heat the second sample to 140ºF–150ºF (60ºC–66ºC) and keep it there for at least 20 minutes.
- Remove the second sample from heat.
- Put the second sample into the fridge and let it chill.
- Wait for the two samples to reach the same temperature.
- Swirl and taste both samples.
If you detect any hints of butter flavor, you’ll need to continue your diacetyl rest. But if both samples have the taste and feel you’re after, it’s time to bottle or lager!
No matter how small your setup or modest your ambitions, you don’t have to settle for a dose of dairy in your lager. By understanding the sources of diacetyl, incorporating a thorough diacetyl rest, and testing your brew before bottling, you can make sure every lager you brew is your best yet.
Happy Brewing!