Whether you’re a veteran homebrewer or brand-new to the brew game, finding ways to personalize your beer is half the fun. One of the easiest and funnest ways to give your brew a personal touch is with roasted malt. You can roast malts at home, without any special equipment, and add some richness and flavor to your homebrew in the process.
Learning how to roast malts begins with understanding and appreciating malt itself. Once you know how it affects your brew, and why a good roasting is so important to crafting a good beer, you’ll be ready to heat things up.
What is Roasted Malt?
Another word for germinated and kiln-dried cereal grains of various kinds, malt is what provides the fermentable sugar in your homebrew.
Historically, barley malt has provided the foundation for beermaking, but as a modern homebrewer, you have a much wider range of options, including wheat, oats, corn, and rice.
Roasted malt produces a kaleidoscope of colors and flavors, giving you nearly endless possibilities for your homebrews.
The Basics of Malting
The process of transforming grains into malts is called malting. Soaking grains in water encourages them to germinate, or sprout. Heating the germinated grains denatures, or deactivates, the enzymes that would normally allow the grain to grow into a plant.
But it leaves behind other enzymes that turn starch into sugar for your yeast to devour while your brew’s in the fermentation chamber.
Types of Malt
Your homebrew recipe may call for a variety of different malts, and the exact composition will depend on the style of beer you’re brewing. Malts can be broken down into two groups, based on their role in your brew.
Base Malts
Heating, but not roasting, germinated grain produces what are known as base malts. These malts provide the bulk of the fermentable sugars for your homebrew. Barley, wheat, oats, and rye are all base malts.
Both all grain brewing and extract brewing rely on base malts. They release their starches during mashing for the former, and have given up their starches as extract for the latter.
Either way, without malts, the yeast you pitch into your wort wouldn’t have any sugar to convert into alcohol. And what fun would that be?!
Specialty Malts
If the base malts in your homebrew recipe are the steak, think of specialty malts as the seasoned butter. They’re not the star of the show, but they round out the meal and add character, flavor, aroma, and color.
Unlike base malts, specialty malts are steeped like tea, rather than mashed. They’re not contributing significant fermentables to the wort, so they only need to release their flavors, aromas, and colors.
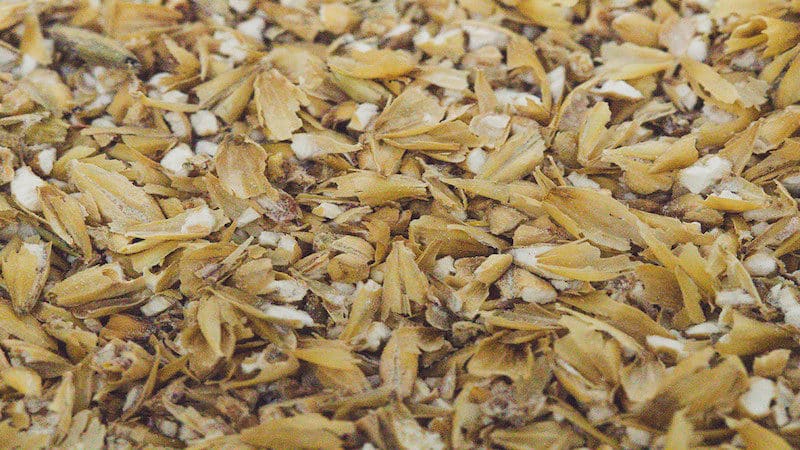
Roasted Malts are created by dry toasting malts in a roaster or oven. They range from pale gold to dark or burnt browns. These colors will be imparted to your finished brew. Lighter roasts add paler colors, while darker roasts add deep, dark tones.
Roasted malts also add rich, malty flavors to your beer, including toast, biscuits, honey, nuts, toffee, coffee, chocolate, and even ash.
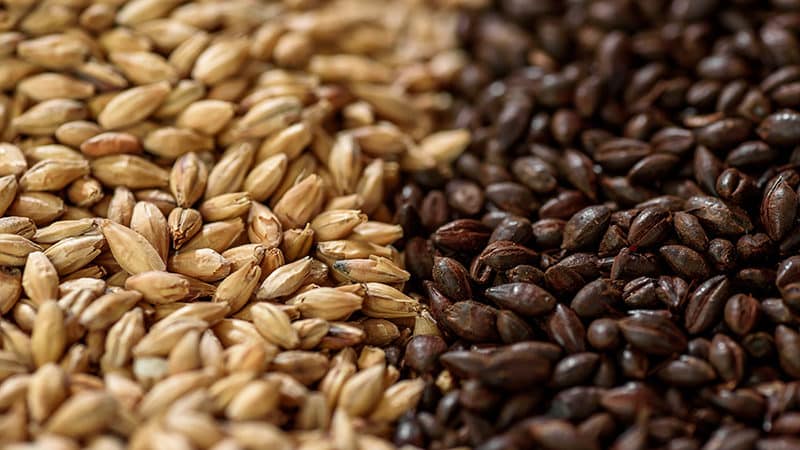
Examples of roasted malts include Gold, Amber, Chocolate, and Black, as well as Roasted Barley and Rye.
A Note on Roasted Barley: Most roasted malts are made from roasted barley malt. Interestingly—or maybe confusingly, if you’re coming at malts cold—the roasted malt called roasted barley is made from roasted unmalted barley. So while your roasted malt will contain roasted barley malt, the stuff we actually call roasted barley doesn’t.
Crystal or Caramel Malts are roasted wet until they dry. This extra step breaks down some of the starches inside the grains into sugars and caramelizes them.
These malts add sweetness as well as color to your brew, and can contribute special non-fermentable sugars called dextrins to your finished beer. These sugars add body and improve mouthfeel, and give a boost to head retention.
Ready to improve your all-grain brewing process and dial in your system?
This video course covers techniques and processes for water chemistry, yeast health, mashing, fermentation temperature, dry-hopping, zero-oxygen packaging and more!
Click Here to Learn More
What Can Brown Do For You? How Roasting Affects Malts
When you roast a malted grain, it undergoes a series of chemical changes known as the Maillard Reaction. This is the same process that gives your bread its crust, your steak its sizzling crust, and toasted marshmallows their distinctive flavor and appearance.
The Maillard Reaction also produces compounds known as melanoidins, which add dark colors and toasty flavors to your brew. Think of it as similar to the way melatonin in our bodies colors our hair, eyes, and skin. Melanoidins also improve shelf stability and reduce oxidation in your beer, helping to protect flavor.
The exact colors and flavors produced by roasting are dictated by three factors: grain moisture, roasting temperature, and roasting time.
Dry Roasting vs. Wet Roasting
The moisture content of the grains being roasted influences the browning process. Moisture enhances the Maillard Reaction.
Dry roasting produces drier, sharper, toastier flavors with less underlying sweetness.
Wet roasting, essential to creating crystal or caramel malts, produces richer, maltier, more sweetly caramel-like flavors.
Roasting Temperature
You can roast your malts at temperatures ranging from 200°F to 400°F (93°C to 204°C). The higher the temperature, the darker the roast.
Roasting Time
Depending on your goals, you can roast your grains for as little as 15 minutes, or for as long as an hour. A longer roasting time produces darker roasted malts, particularly at higher temperatures.
Smaller grains will toast more quickly than larger grains, and wet grains will take longer to roast than dry grains.
Supplies for Making Roasted Malts at Home
If you’ve got an oven and a few kitchen basics, you’re ready to get roastin’.
You’ll need:
1 lb (.45 kg) of Uncrushed, Pale Barley Malt
Any variety will do, but avoid pearled or de-husked barley. You need to provide a natural shell during roasting and to allow the malted grain to toast, rather than burn.
Once you get the hang of malted barley, you can branch out into other grains such as wheat, oats, and rye to create some complex and compelling additives for your homebrew.
And then once you’re done roasting, you can keep the DIY going by crushing malts yourself too.
A Baking Pan
For an even roast, use a baking sheet, but any cookie sheet or baking pan that holds your grain should do the trick. If you’re “crossing the streams” and using a pan that’s been used to bake anything else, be sure to line it with foil. This will keep any lingering fats or oils from touching your grain and creating unwanted flavors or char.
If you’ll be roasting malts at home on the regular, consider buying a few pans just for roasting.
An Oven
If you’ve got one with a convection setting, all the better. The circulating hot air will provide a more consistent roast.
An Oven Thermometer
As ’90s supergroup TLC once said, don’t go chasin’ waterfalls, and don’t trust internal oven thermometers.
OK, we added the bit about thermometers, but if you want precision and accuracy, a separate thermometer will help you keep the temperature of your roasted malts on target.
How to Roast Malts
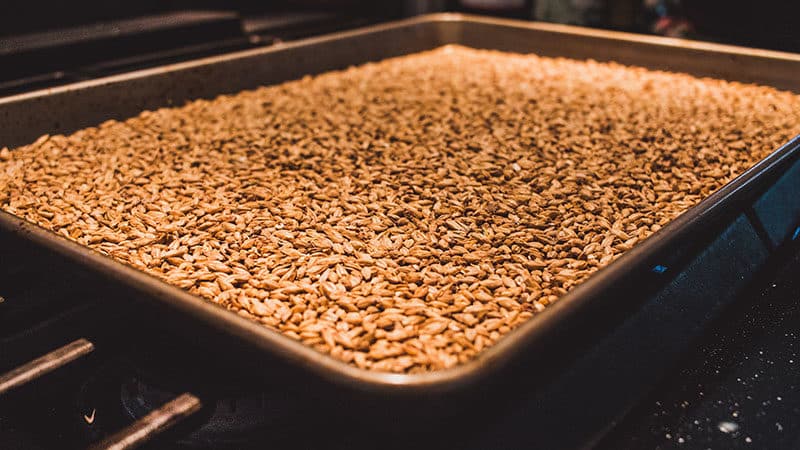
Start by preparing your roasting pan. Line it with foil, if necessary.
Next, spread your malt evenly across the pan, creating a single layer that’s not more than 1 inch (2.5 cm) thick. Set them aside while your oven preheats.
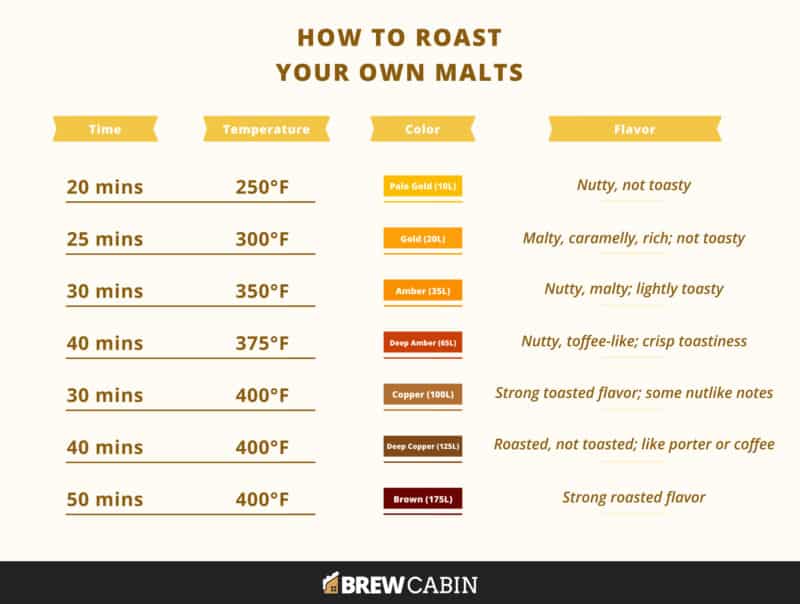
The right time and temperature for your roast depends on your desired style of beer. A pilsner or lager benefits from lightly roasted malts, while a stout or porter improves with the addition of dark, toasty ones.
Need help getting started? You can produce a wide range of roasted malts with the right time and temperature settings. Your malts will have a darker taste than their apparent color, so plan accordingly.
Note: Colors are listed in the Lovibond scale (L), a system developed in the late 1800s by a brewer named Joseph Lovibond. It measure color tints. Low numbers indicate light colors, while high numbers indicate darker ones.
Once your oven is preheated, place your baking pan in the oven and let the malts roast. Use your thermometer to verify the temperature inside the oven and adjust as necessary.
When the roasting’s complete, take your malts out of the oven and let them cool.
After your roasted malts have cooled, transfer them to a brown paper bag. Let them mellow for at least two weeks before you fire up the brew kettle. This gives the harshest and bitterest aromatics time to dissipate into the air instead of your beer.
Make Your Own Crystal Malts
If you’re sweet on the idea of cooking up your own crystal malts, it’s easy to get started. Your malts will start out wet, but end up dry, sweet, and caramelicious.
Soak The Malt
Instead of spreading your barley out in your baking pan, put it in a mixing bowl. Add just enough water to cover the grains, and let them soak for 2 to 3 hours.
Do the (Mini) Mash: Converting Starches into Sugar
Drain your soaked malt while you preheat your oven to 160°F (71°C). If your oven doesn’t have a setting this low, put it on the lowest setting available and leave the door cracked. Use your oven thermometer to measure the temperature and open the door a little wider if necessary to cool things down.
Dump the wet grains onto the baking sheet, but don’t spread them out just yet. Put them in the oven and let them roast for 1 to 2 hours.
As they roast, enzymes in the grain will convert the starches into sugar. It’s kind of like a mini-mash, without the need for a mash tun.
The longer your roast your grains during this step, the sweeter the finished malt will be.
Dry The Malt
After the mini-mash, dry out the grains and prepare them for toasting. Raise your oven temperature to 220°F (104°C) and spread the grains out in the baking pan in an even layer 1 inch (2.5 cm) thick.
Dry at this temperature for 2 hours. Stir the grains occasionally to make sure they don’t burn.
Roast The Malt
Once your malts are dried, turn the oven up to 300°F (149°C). Roast the malt for 10 to 60 minutes, based on your desired color.
For reference, a 10-minute roast will produce a malt similar to Crystal 20L, 30 minutes will produce an amber malt similar to Crystal 60L, and 60 minutes of roasting will produce a very dark malt similar to Crystal 100L.
Rest Your Malts
Let the malts cool completely, then transfer them to a brown paper bag to rest for two weeks or so. As with your dry roasted malts, this will allow undesirable aromas and flavors to dissipate.
You’ve Barley Scratched the Surface
Making your own roasted malts at home is just the beginning. With time, patience, and the right recipes, you can craft roasted malts from a wide range of grains.
Whether you’re keen on an creamy English Oatmeal Stout or determined to give the world its first perfectly hoppy rye ale, roasting malts at home makes it easy and fun to create a homebrew with a flavor and look all your own.
Happy Brewing!