One of the best things about being a homebrewer is the versatility. You can brew lager, stout, or even experimental creations that break all the rules of homebrewing. You can build your own mash tun and perfect your brewing process from start to finish. Or, if you’re the expedient sort, you can skip the mash tun in favor of extract brewing.
Don’t be fooled into thinking of this approach as a shortcut or a rookie technique. Malt extracts can produce beers that are just as good as—and sometimes even better than—those created with all-grain brewing.
Types of Malt Extract
Most beers begin with grain, and malt extract is mashed grain. The process of crushing grain and mixing it with water is known as mashing. You mash grains to release starches as sugars. Mashed grain has had most or all of the water removed to create a concentrated extract.
Since this concentrate has already been mashed, it’s stuffed with sugars that’ll be turned into alcohol by hungry yeast during the fermenting process.
Malt extract comes in two forms: liquid or dry.
Liquid Malt Extract
With the consistency of thick syrup, liquid malt extract (LME) generally has a water content of around 20%. When it’s unopened and stored in a cool, dark place, LME can last for up to two years.
LME often comes in specialty flavors, and some varieties are even pre-hopped, making it easy to produce brews with consistent results.
Dry Malt Extract
Though it starts out the same as its liquid counterpart, dry malt extract (DME) undergoes further dehydration to remove virtually all of the water. DME’s powdered form makes it easier than LME to measure if you aren’t using the whole container. It’s easier to store leftovers, too, and DME has a longer shelf life than LME.
If you’re looking for a neutral foundation for your homebrew and are using a speciality grain, DME tends to impart fewer unique flavors to the wort than LME. This means it won’t show up your special blend. On the other hand, since it doesn’t add much of a flavor profile, you’ll be relying on those specialty grains to do the heavy lifting when it comes to taste.
Despite their similarities, LME and DME are not interchangeable. They can produce markedly different results with regard to color, flavor, and body in your homebrew. It’s generally best to stick with whatever the recipe calls for. If you absolutely must substitute one for the other, keep in mind they have different malt-to-water ratios: 1 lb. (.45 kg) of DME contains the same amount of fermentable sugars as 1.2 lb. (.54 kg) of LME.
Homebrewing with Specialty Grains
Compared to partial-mash or all-grain brewing, extract brewing limits the unique malt-derived flavors in your beer. One way to overcome this limitation is by adding speciality grains (also called ) into your wort.
Your extract is created from base grains, also called base malts. The extract provides the sugars that will turn into alcohol during fermentation.
You can add flavors such as chocolate, or coffee, adjust the color, add or reduce bitterness, and even tinker with the acidity of your final beer with specialty grains.
During extract brewing, you’ll steep these grains in hot water to create a sort of “grain tea,” but remove them prior to adding malt extract into the wort. Using speciality grains lets you experiment with new malts and add unique flavors to an otherwise basic homebrew.
Ready to improve your all-grain brewing process and dial in your system?
This video course covers techniques and processes for water chemistry, yeast health, mashing, fermentation temperature, dry-hopping, zero-oxygen packaging and more!
Click Here to Learn More
How to Homebrew with Malt Extract
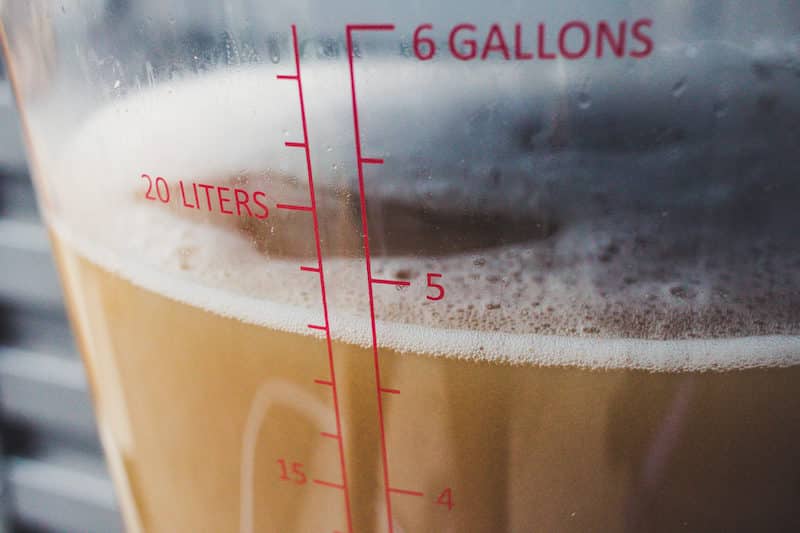
Once you’ve made your wort, the next steps for extract brewing and all-grain homebrewing are basically the same. The critical difference lies in the how you make your wort during extract brewing, whether you’re making a standard five-gallon brew or small batch brewing.
You’ll also follow slightly different steps if you’re bottling beer instead of kegging. Learning how to keg homebrew can be useful if you’d like to save time and labor, or just don’t feel like dealing with a bunch of beer bottleson the regular.
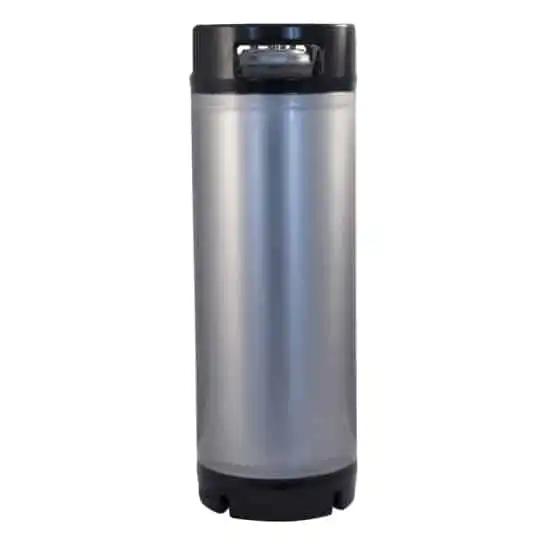
Our recommended corny ball lock kegs for kegging your homebrew. Simple, lightweight, and easy to clean.
Extract Brewing Supplies
The first step to any successful homebrew is gathering your equipment. To begin, you’ll need:
- Brewing sanitizer
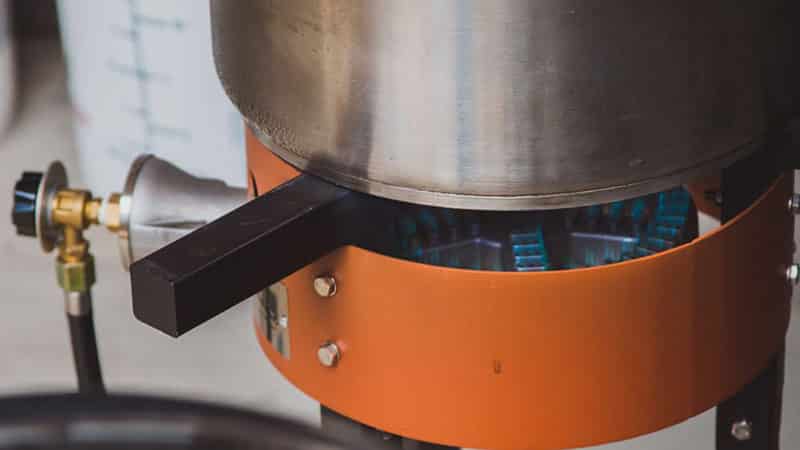
- Brew kettle
- Thermometer
- Brewing Spoon
- Digital Scale
- Mesh bag (if using specialty grains)
- Fermentation bucket
- Rubber Stopper with a small hole in it
- Airlock
- Auto Siphon
- Vinyl Tubing
- Bottle Filler
- Priming Sugar
- Beer Bottles
- Bottle Caps
- Bottle Capper
You can also get most of these supplies all at once by buying a beer brewing kit.
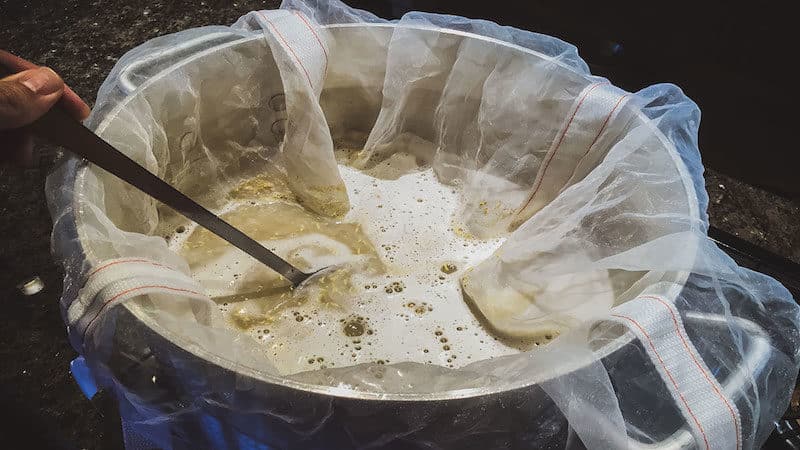
Steep The Specialty Grains
Once you have your materials gathered, you can begin your brew. If you’re not using speciality grains in your beer, you can skip to the next step.
If you are using specialty grains, the first thing you need to do is place them in a mesh bag and tie the bag shut. Heat a few quarts of water in your brew kettle to 160°F (71°C), then turn off the heat. Add your grain bag, cover with the kettle lid, and let everything steep for 30 minutes.
After 30 minutes, remove the grain bag and discard.
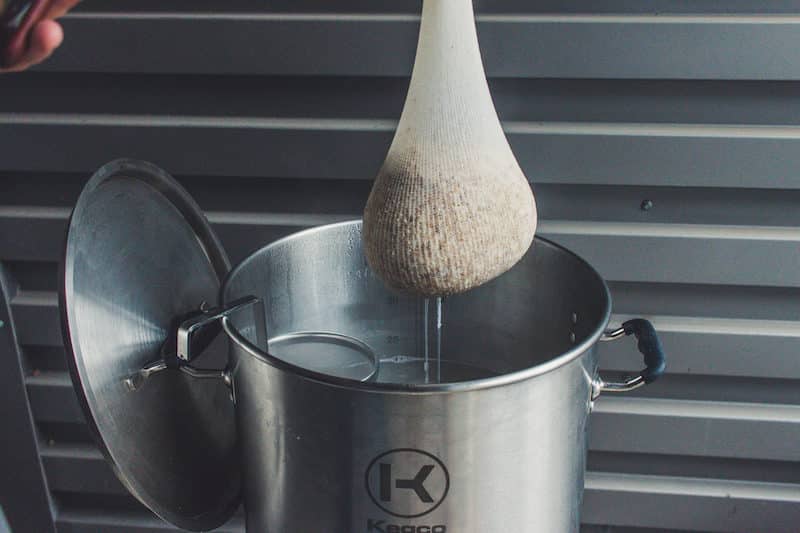
Important: Never allow your specialty grains to boil when you are extract brewing. This will release excess tannins—polyphenol compounds that can add astringency, bitterness, and haze to your beer—and potentially ruin your brew. All beer contains tannins, but you definitely want to keep them to a minimum.
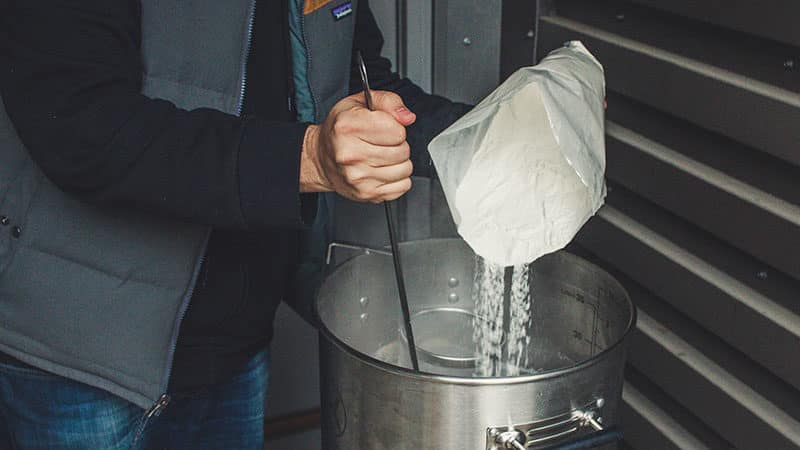
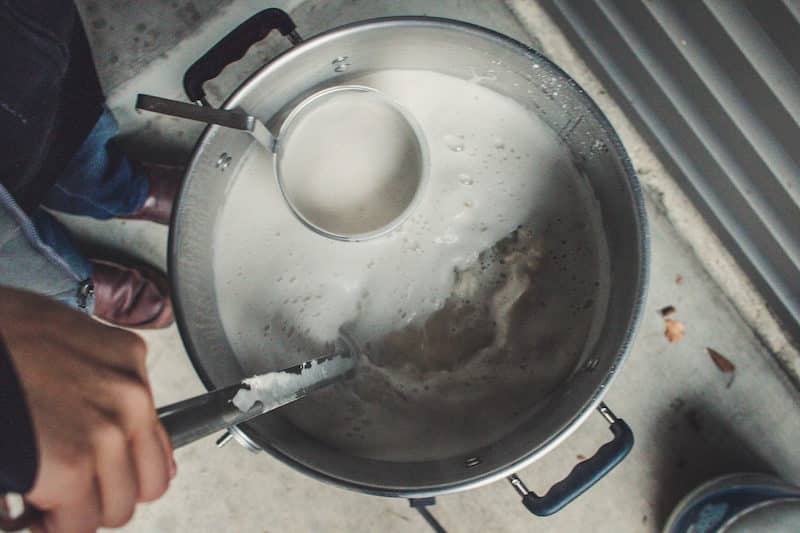
Add The Malt Extract
Add the rest of the water to your brew kettle, and heat up all the liquids to 155°F (68°C). Turn off the heat, and then add your malt extract while stirring.
Liquid Malt Extract has a thick, syrupy consistency. You may have a bit of trouble getting the last of it out of the container. Swirl a bit of hot water around in the container to thin out the remaining extract. Stir constantly while you’re adding LME to prevent it from sticking to the bottom of the kettle.
Dry Malt Extract doesn’t do well with excess moisture. Keep an eye on the vapor rising from your kettle. It can sometimes cause DME to clump, making it difficult to pour straight from the bag.
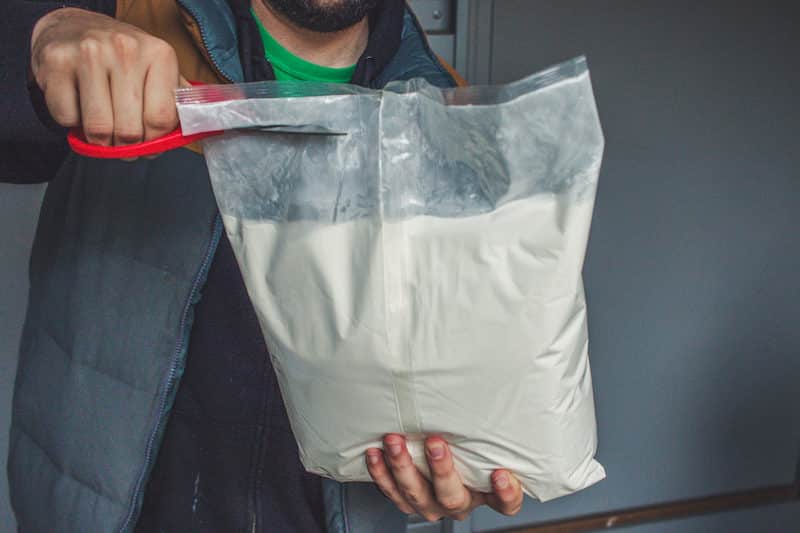
If you find yourself in this situation, you can pour it into a clean, sanitized bowl first, then dump it directly from the bowl into the brew kettle. Stir constantly while adding DME to prevent clumping.
Note: Some recipes call for both LME and DME. If this is the case, add the LME first, since it tends to be easier to incorporate.
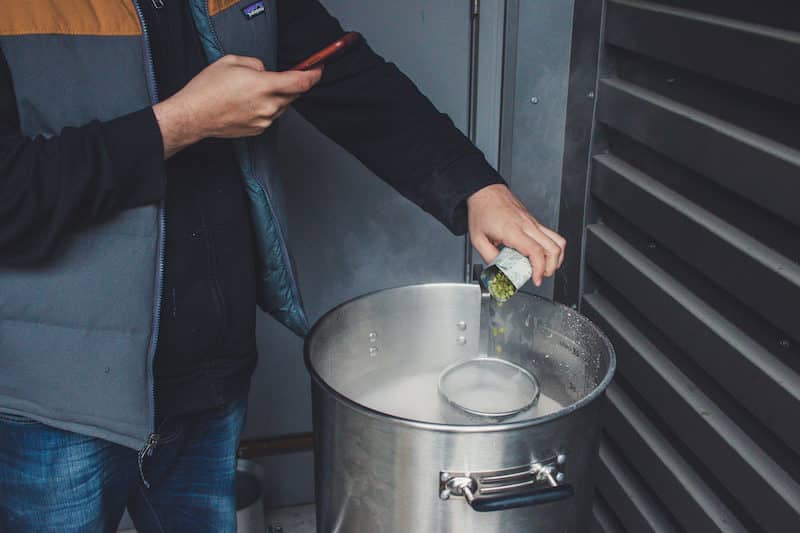
Boil The Wort and Add The Hops
Once the malt extract is added, bring the wort to a boil and set a timer, based on your recipe. Add hops as desired, or at whatever increments your recipe suggests.

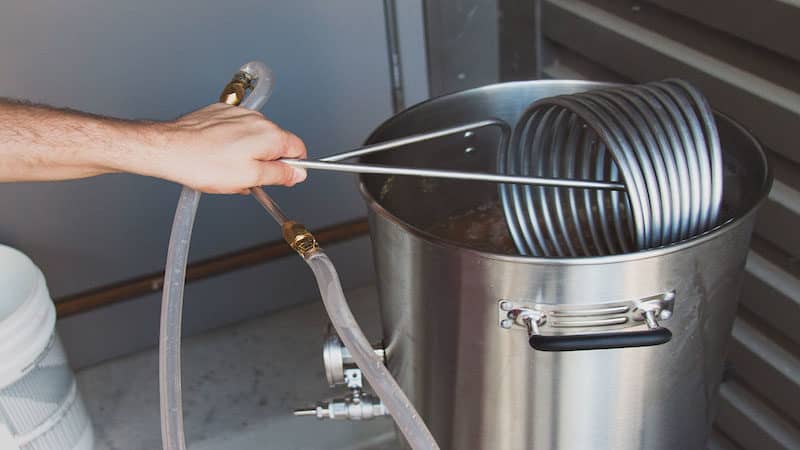
Cool The Wort
If you have an immersion chiller, now’s the time to use it. Otherwise, fill a sink or tub with ice and submerge your kettle to cool your wort. Remember to leave the lid on.
Since the boiling is over, any contaminants that get into your wort will not get killed off, so it’s critical to keep them outside where they belong. Let your wort chill until it reaches room temperature—around 70°F (21°C).
Sanitize
While your wort is cooling, thoroughly sanitize your primary fermentation bucket, siphon, tubing, and airlock. The easiest way to do this is to fill up your fermentation bucket with water, add the appropriate amount of no-rinse brewing sanitizer into the bucket, then submerge the rest of your equipment to soak.
Soak all your equipment for at least 60 minutes, then remove it and let it air dry. Don’t worry if there’s a little foam on your gear. It’s normal and won’t affect your beer.
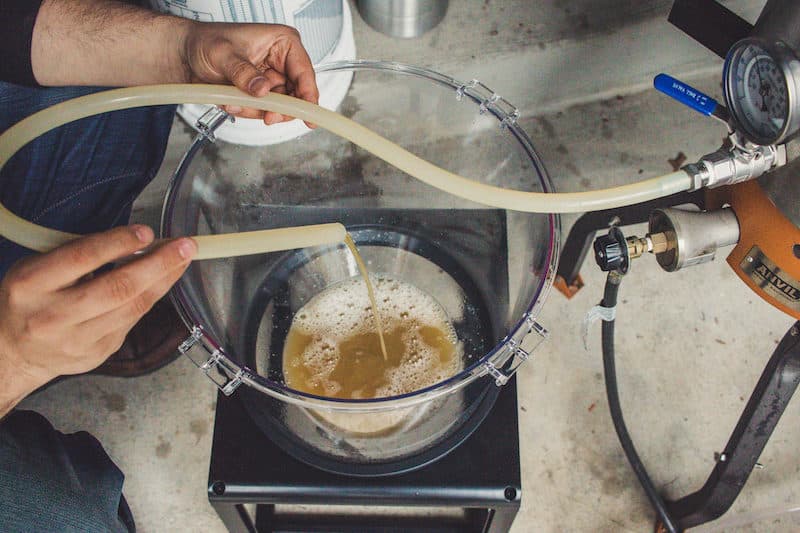
Transfer The Wort and Pitch The Yeast
Once the wort is cooled, transfer it to your clean and sanitized primary fermentation bucket using the siphon. Be sure to keep the bottom of the siphon above all the malty, hoppy sludge at the bottom of your brew kettle.
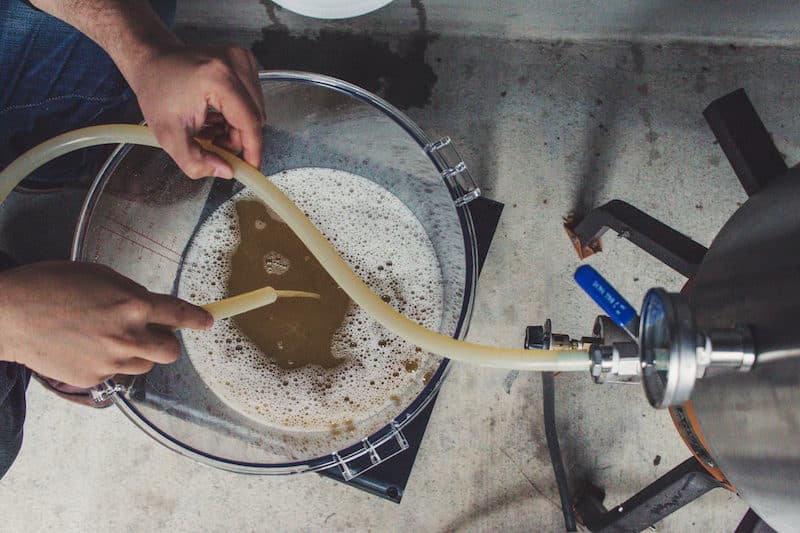
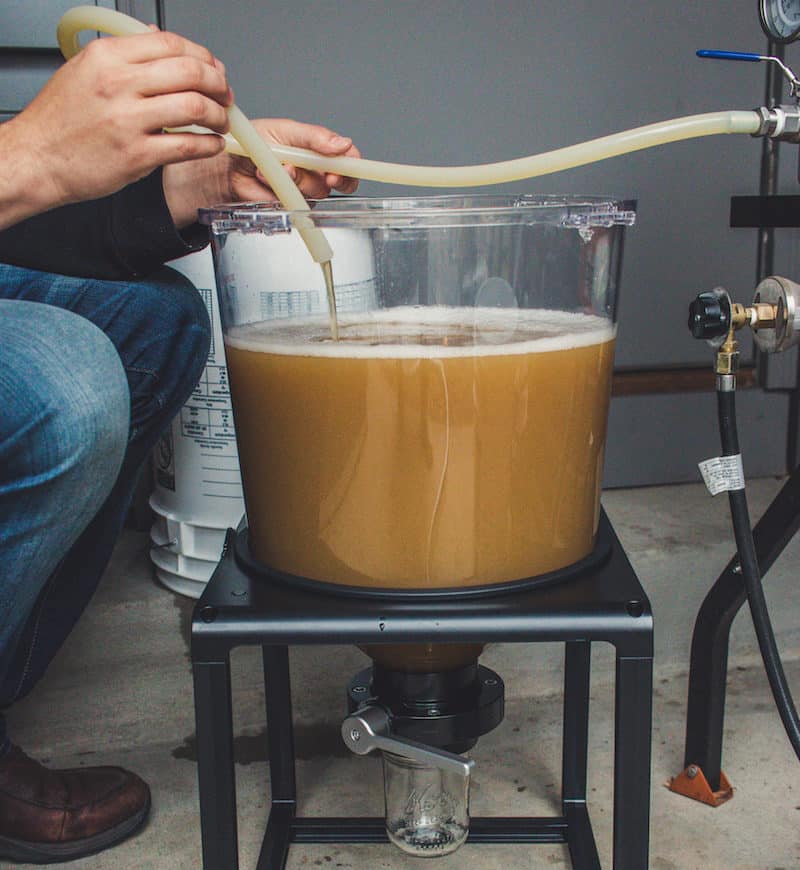
Next, aerate your wort by shaking your fermentation bucket. Don’t skimp on this part – the yeast need plenty of air in the wort to help them turn your liquid gold into beer. Oxygen introduced after fermentation begins is bad news, as it can cause oxidation, or the binding of oxygen with particles in your beer to create funky flavors.
However, the wort itself should be infused with oxygen. That’s why you’re shaking it for aeration, to promote oxygenation and give your yeast what they need to reproduce.
Sanitize the outside of your yeast packet, then snip it open the top using a pair of sanitized scissors. Pitch your yeast by dumping it into your wort, then giving the bucket a few more aerating shakes.
Wait For Fermentation
Fill your airlock with a little sanitizer solution, and insert it into the top of your fermentation bucket. Then place your fermentation bucket in a cool, dark place.
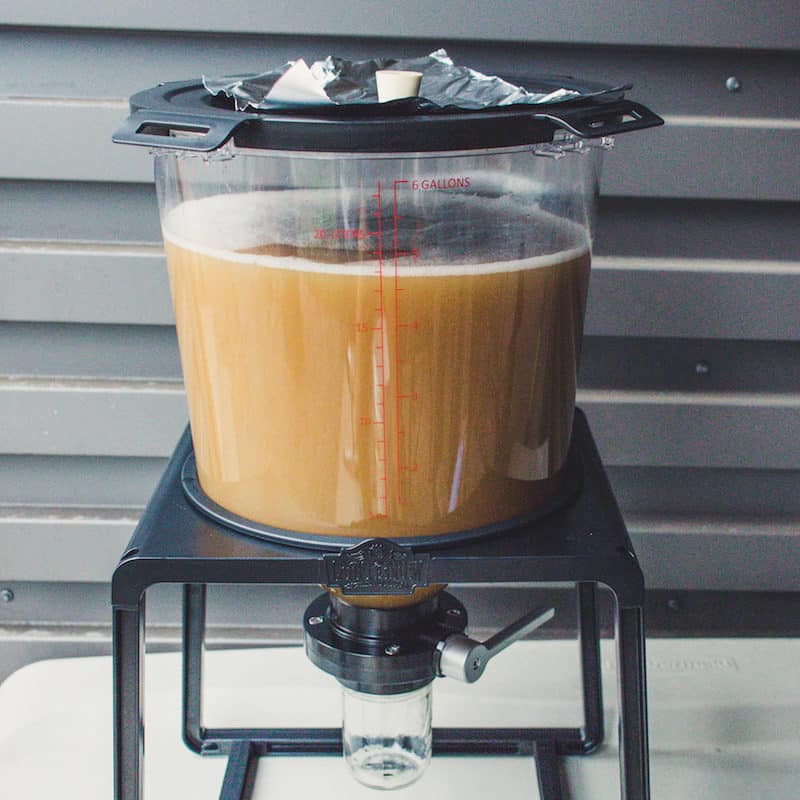
Follow the instructions in your recipe for primary fermentation, and, if applicable, secondary fermentation. Generally your beer will sit in primary fermentation for about one week, then you will siphon it into a sanitized carboy for an additional week of secondary fermentation.
Bottle Your Homebrew
Your beer should be ready to bottle in about two weeks’ time. Be sure to sanitize your equipment before you begin.
Calculate the appropriate amount of priming sugar for your homebrew, or, if you’re using priming tablets, follow the directions on the package. Make sure you leave about an inch or so of space in each bottle to allow for carbonation, and always cap your beer firmly using the capper.
Important: Bottles can sometimes explode. Store your beer somewhere cool, dark, dry, and easy to clean. You can also put a large tarp or cookie sheet under your beer while it’s conditioning to make cleaning up easier if disaster strikes.
Enjoy That Extract Homebrew!
After about two weeks of bottle conditioning, your extract homebrew should be carbonated and ready to drink. Test one or two for quality and taste. If it’s not quite there, test another after a day or two until you’re happy with the results. When your brew is ready, invite over some friends and toast to your success.
Are You Ready to Try Extract Homebrewing?
Whether you’re a veteran homebrewer or new to the homebrewing game, extract brewing simplifies the process and ensures more consistent results.
By taking the time to prepare your equipment, understand the types of malts available, and carefully following the recipe, you’ll be well on your way to becoming an extract brewing master.
Happy Brewing!
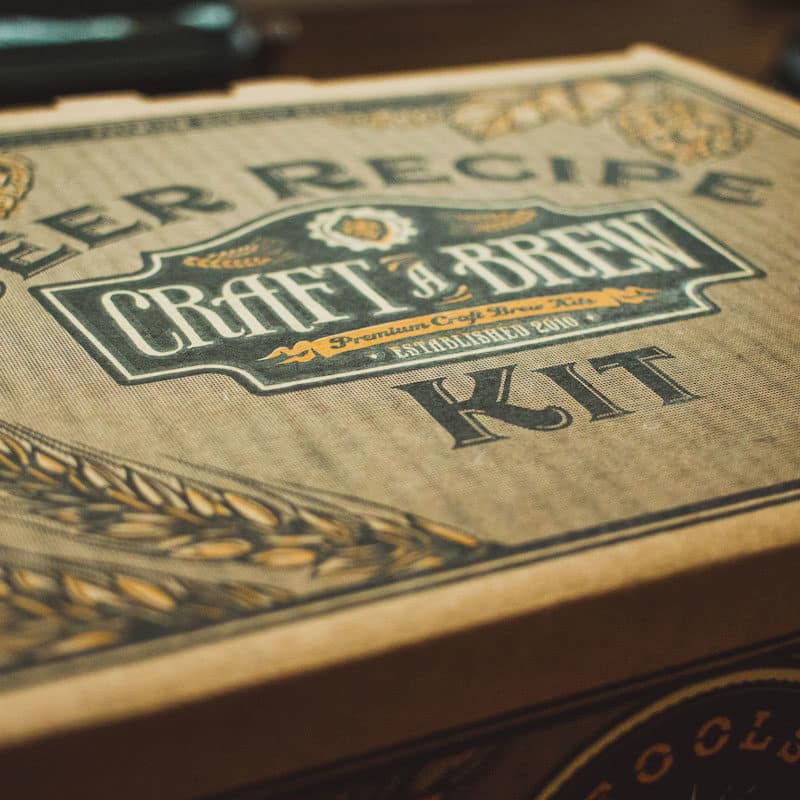
The beer brewing kit used for this article and in the photos was graciously provided by the kind folks at Craft a Brew.