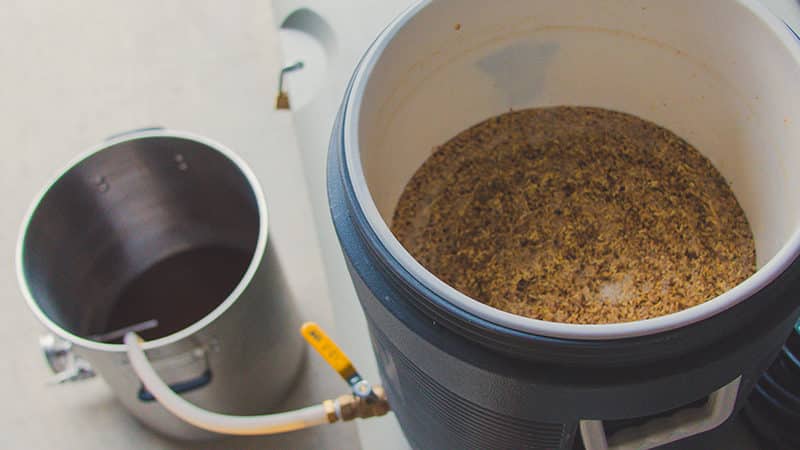
One of our favorite parts of all grain brewing is the mash. A little water, the right grains, and boom—we’ve got a golden elixir we can ferment into tasty beer. Of course, it’s not quite as simple as pouring water over wheat. If the secret to a great beer is a good mash, then the key to a good mash is controlling mash temperature.
How hot (or not) things get when you mash can totally transform your finished beer. Understanding how mash temperature affects the final body and finish of your brew can help you adjust your mash to the styles of beer you’re making and create tastier, more enjoyable beer.
Body Language: Why Mash Temperature Matters
You have a lot to consider when you’re evaluating your finished beer. But as a rule, a good beer hits the spot for bitterness, flavor, color, body, and mouthfeel.
You can control bitterness by choosing the right hops, by growing hops at home, or choosing when you add hops to your brew. Non-bitter flavors and color are dictated by the grains you use, as well as anything else you may add if, for example, you homebrew with herbs and spices.
When it comes to body and mouthfeel, it’s the mash temperature that calls the shots. These two characteristics can make or break the drinking experience, so getting them right is essential to brewing a successful beer.
Body
When we say a beer has good body, we’re not making AH-OOOGA noises or bopping around like a Tex Avery wolf. Well, not usually, anyway.
Body is simply another term for the weight and thickness of the beer. Beers with more body have a higher final gravity, which means they also have a thicker consistency than light-bodied brews.
They may also have more alcohol, but you can absolutely brew a full-bodied beer with a moderate alcohol content by adjusting mash temperature.
Light beers are, unsurprisingly, light-bodied, while a pale ale would be described as medium-bodied. Darker, thicker brews like doppelbocks and stouts are said to be full-bodied.
Mouthfeel
Drinking a beer is more than just tossing some fermented grain squeezins into your mouth and calling it a day. It’s an experience. Temperature, texture, and taste come together to create a sensation called mouthfeel.
It’s all about the way the beer feels in your mouth. Is it creamy? Thick and chewy? Thin and crisp? For example, a stout might look deep, dark, and delicious, but if it feels thin, flat, and watery when you drink it, it’s sad faces all around.
Everything from unfermented sugars, to proteins, to flavor additives can affect this experience. For example, additives such as lactose, oats, rye, and other adjuncts can improve mouthfeel and body through additional sugars and proteins.
When your brew is on target, it’s a pleasure. When it’s not, you might get what was known in darker times as Bitter Beer Face.
Adjust Your Mash Temperature to Build Body
The primary goal of your mash is conversion, or pulling starches from the grain and turning them into sugars for the wort. These sugars feed your yeast during fermentation. Different types of sugars help determine alcohol content, body, and mouthfeel, and the mash temperature determines how many sugars, and which type, make it into the wort.
For most beers, the conversion step is performed between 146°F and 156°F (63°C and 69°C). If you’re using a single-step infusion mash, then your mash is your conversion step.
If you’re doing a more complex mash, such as a decoction mash, then your conversion will be handled over multiple steps to extract the most sugars possible from your grain.
It’s Enzyme Time
Why is conversion temperature so important during the mash? Temperature determines enzyme activity during the mash. Enzymes, which are specialized proteins, transform complex sugars into simpler sugars.
The two enzymes that are most active during your mash are known as alpha amylase and beta amylase, both of which produce maltose, a simple sugar. Maltose has high fermentability, giving your brew lighter body and higher attenuation, or complete conversion of starches from the mash to the wort.
Alpha amylase
This enzyme is active in the range of 154°F–167°F (68°C–75°C). It breaks down long sugar chains to produce both maltose sugar molecules and longer sugar chains that aren’t completely fermentable. These more complex sugars, called dextrins, stick around even after fermentation, and give your beer more body and a more complex mouthfeel.
Alpha amylase can break sugar chains just about anywhere, but not completely. That’s why it tends to leave unfermentable fragments behind. Its faithful sidekick, beta amylase, is very adept at breaking off single maltose sugars, but it can only do it at the end of a sugar molecule.
Beta amylase
This enzyme is active between 130°F–150°F (54°C–65°C) and creates single molecules of maltose sugar from larger, more complex sugars.
You can think of this dynamic duo as a team made up of a jack-of-all-trades and a specialist. Both enzymes break down complex sugars into maltose; they just do it in different ways.
The net result is this: beta amylase is more adept at creating single molecule maltose to feed your hungry yeast, but it takes longer since it can only snip maltose from the ends of a longer sugar molecule. Alpha amylase creates maltose more quickly, but also produces a lot of stuff your yeast can’t eat.
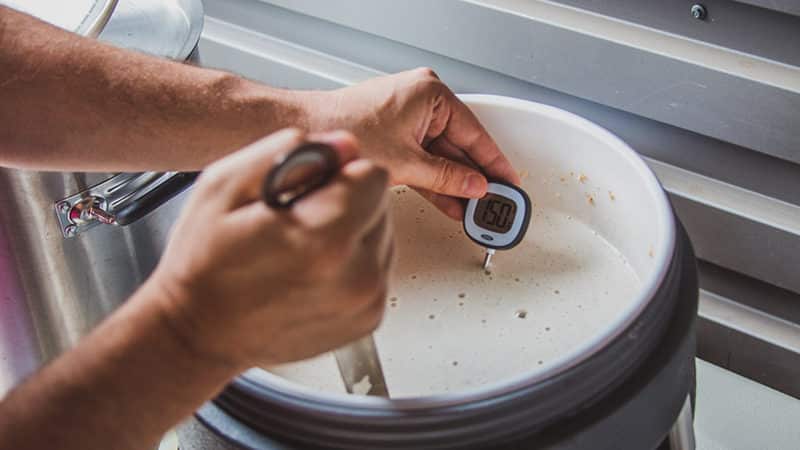
Alpha and beta amylase work best as a team. That’s why the “golden” mash temperature hovers around 153°F (67°C). You can take advantage of the relative strengths of each enzyme during the mash to brew a beer with the characteristics you crave.
How to Use Enzymes to Your Advantage
If you’re looking for a strong beer that’s clear and thin, you could use a low step mash temperature of 146°F–150°F (63°C–66°C) to focus on beta amylase activity. This mash will take longer, but will churn out a higher percentage of maltose, which your yeast can turn into alcohol. You’ll get a highly attenuated, light-bodied beer with a higher alcohol content and a thin, clean mouthfeel.
On the other hand, if you’re after a full-bodied beer with a lot of rich, chewy mouthfeel, you could use a high mash temperature during conversion. Alpha amylase will be hard at work between, for example, 154°F and 156°F (68°C and 69°C), producing both maltose and unfermentable sugars. The result? A lower alcohol content and a rich, full-bodied brew that’s meant to be savored.
Somewhere in the middle of these two extremes lies medium-bodied beer with a distinctive, but not overwhelming, mouthfeel. A mash temperature of 150°F–153°F (65°C–67°C) will take you down the middle of the homebrewing road.
What About Other Proteins?
Enzymes aren’t the only proteins at work in your beer. Protein molecules of varying complexity can affect the body and mouthfeel of your brew, as well as head retention.
The particular proteins that enhance these characteristics are called medium-sized proteins. They help create a kind of net within your beer’s structure to provide density, foam, and a pleasant mouthfeel. This net is known as a colloidal sol, and is, believe it or not, very similar to gelatin, if much thinner.
Now, before you start contemplating the possibility of turning your homebrew into a parfait, it turns out medium proteins are the protein of choice for a reason. They set up a light, stable net that leaves your beer clear (and a liquid) but still provides mouthfeel.
Large proteins will create haze and might even form gelatinous blobs in your brew. Mmm … sounds appetizing, right? Small proteins will feed your yeast, but aren’t strong enough to form a net, and won’t affect mouthfeel in any significant way.
Mash Temperature and Proteins
During the protein rest of your mash, if you use one, is when mash temperature comes into play with proteins. An enzyme called peptidase breaks down complex proteins into medium and small ones between 113°F and 138°F (44°C and 59°C). Traditionally, this was done to release proteins and enzymes trapped in the grain and improve conversion.
Most modern grains are fully modified, or designed to release as many of their starches as possible, and don’t need a protein rest. In fact, performing an additional protein rest on a fully modified grain might end up ruining your brew’s mouthfeel, since it can break down precious medium proteins into small ones, leaving you with a thin, watery beer.
If you’re brewing with oats, wheat, or roasted malt though, performing a protein rest can help break down those big proteins into the medium ones you’re after.
Ready to improve your all-grain brewing process and dial in your system?
This video course covers techniques and processes for water chemistry, yeast health, mashing, fermentation temperature, dry-hopping, zero-oxygen packaging and more!
Click Here to Learn More
Mashing Mishaps: Rescuing a Missed Mash
The fact remains that somewhere, somehow, you’ve missed your mash temperature, and now you’re wondering whether you’ve wasted your whole brewing day.
Don’t despair. You can rescue your mash with a few quick adjustments.
If Your Mash Temperature Is Too Low
While the lower end of the temperature scale is good for beta amylase to kick out maltose, going too low will drop starch conversion like a rock, leaving you with water disguised as beer.
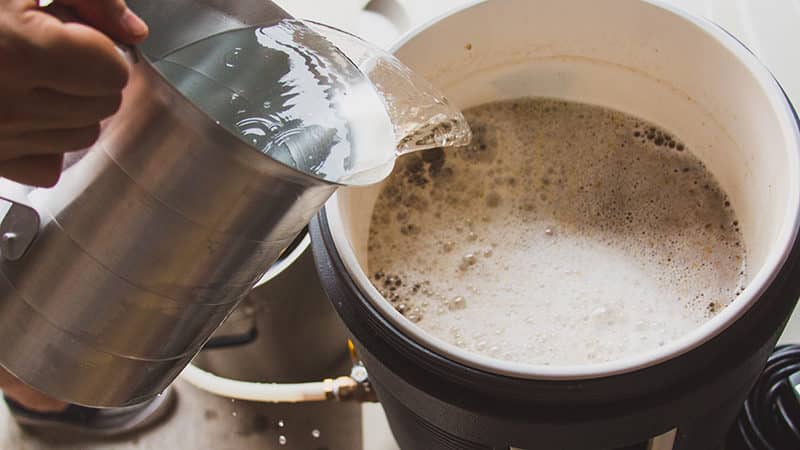
The most basic solution is to add hot water to your mash. Boil water and add it to your mash tun, stirring constantly, until your mash reaches the target temperature.
If you choose to add hot water, remember you’re increasing the total volume of your mash. Adjust your calculations for your final beer accordingly. Or you can subtract the water you add from the total volume of strike water to avoid changing your total volume.
You can also use an online calculator to adjust your totals and make sure your brew is still on target for the recipe you’re using.
If you’re mashing in your brew kettle, direct heating is even easier than adding hot water. Keep the heat low, and stir constantly to avoid scorching your grains as you raise the mash to the target temperature.
Finally, an improvised decoction mash can help you get your mash temperature where it needs to be. Pull the thickest third of your mash—this is your decoction—and transfer it to a sanitized pot. Heat the decoction to boiling, then stir it back into the mash. Check the temperature, and repeat as necessary.
These are a premium lineup of feature-rich all Stainless Steel Brew Kettles, designed to keep you brewing for a lifetime.
If Your Mash Temperature Is Too High
If things get too hot when you’re mashing, you can give your beer a very high final gravity and a body that might be a little too full. It can also release more tannins, adding bitterness.
Cooling things down is easy. You can add ice cubes or cold water directly to your mash and stir until you reach your target temperature. As with adding hot water, remember to adjust your calculations for the new volume of liquid in your mash.
If you’ve got one, a wort chiller can cool your overheated mash with ease. Keep a close eye on your mash temperature.
Now You’re a Mash Master
Hot, cold, or somewhere in between, your mash is the first step to delicious handcrafted homebrew.
Whether your goal is a crisp, clean lager or a rich, satisfying stout, controlling your mash temperature will help you get the mouthfeel and body you’re after, and brew a beer you’ll love.
Happy Brewing!