You can’t have beer without a yeast. This little microbe is the cornerstone of how your beer tastes, smells, and gets you inebriated. Or is that just us?
If you consider just how important it is to the brewing process, it seems crazy to throw out perfectly good yeast. Professional brewers reuse yeast all the time, especially because the cost of yeast can be prohibitive in large batches. But even you can save some money when you cultivate your own yeast at home.
You can also stretch out the life of a particularly good, rare, or seasonal variety of yeast. Have you ever bought a seasonal strand, used it, and then wished for just one more batch? Then it’s the perfect time to add yeast washing to your homebrewing skill set.
Yeast Washing Benefits
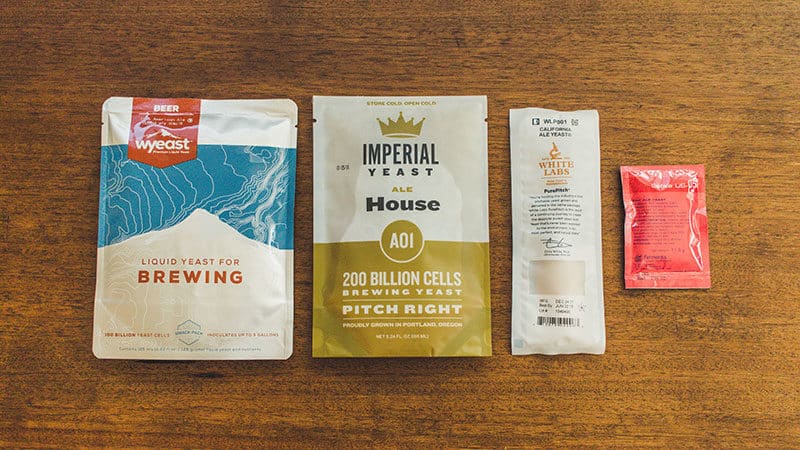
The biggest benefit is saving money. Think about it. If you use liquid yeast, the cost per vial can run between $6 and $15. Specialty strains can cost even more. Say you’re spending ten bucks per brew on yeast. If you reuse the yeast five or six times, that easily translates into big savings.
But it’s not just the money. It’s the science.
Mature Yeast Means Better Beer
The quality of your beer depends on how well your yeast performs during the fermentation process. This can be measured by how quickly and efficiently your yeast consumes sugar to produce ethanol and your desired beer flavor.
When you pitch yeast for the first time, the microbes don’t get to work right away. It takes time for them to acclimate to your wort and begin processing sugars. This is called the lag phase.
The age of the yeast can determine how well it processes sugars. Yeast can only replicate a finite number of times before it dies and sinks down into your trub. Once the lag phase is over, the yeast culture begins to reproduce exact copies of itself. This is called the log phase.
These second-generation cells produced during the log phase are much more adept at consuming sugars and producing ethanol. By introducing more mature yeast at the start of fermentation, you’ll have a shorter lag phase and a more effective yeast culture.
Should You Reuse Dry Yeast?
You might be thinking, “Dry yeast basically costs nothing. Why would I bother saving it?” And to that we say: Yes, you’re right. The main benefits of yeast harvesting are saving money and getting more uses out of a rare or seasonal yeast. Those aren’t big problems with dry yeast. It costs so little that you really don’t have to reuse it.
It’s also a major time saver, since you can pitch it dry or after a short rehydration. At best, you could have a shorter lag phase by harvesting and reusing a culture. At worst, you’re just making extra work for yourself. After all, using dry yeast is supposed to be a time-saving tactic.
But some homebrewers have found a dry yeast starter to be beneficial because it helps increase the yeast cell count before pitching. Of course, you can easily achieve those same results simply by using more dry yeast. Either way, a high-quality dry yeast can give you a delicious beer.
But there’s no one stopping you from harvesting dry yeast. Some homebrewers may say it’s not as viable, but dry yeast science has come a long way since the early days of homebrewing, so it’s really up to you.
Yeast Washing Preparation
The yeast washing process will differ based on your fermenter, but the equipment is essentially the same. Make sure you prepare your yeast washing and sanitizing tools before you transfer a brew to a secondary fermenter or drain the trub from your primary.
Tools
- Large pot for sterilizing
- 1 gallon of water
- 1 – 1.5 gallon jug or small carboy
- 4 one-pint Mason jars and their lids
- Sterilized jar tongs
- Sterilized cloth
- Sanitizer for brewing
- Heat-proof gloves
Instructions
- Fill your pot with water, leaving enough space at the top to account for a rolling boil after you add the Mason jars.
- Bring the water to a boil.
- Add the Mason jars and their lids to the boiling water.
- Maintain the boil for at least one minute. If you live at a higher altitude (more than 5,000 ft.), boil for at least three minutes. This sterilizes both the water and your equipment.
- Remove the jars from the water using your sterilized tongs. Wear heat-proof gloves to protect yourself while handling the hot equipment.
- Set the jars on the clean cloth. Loosely cover each jar with its lid and leave them on the counter.
- Sterilize your large jar or carboy by spraying it with brewing sanitizer.
- Remove your sterilized water from the stove, cover it to prevent contamination, and let it cool. If you need it to cool more quickly, you can place the water in the fridge. You want it to be around room temperature before you introduce the sterile water to the yeast cake as hot water can kill your yeast.
If you’d rather skip fiddling around with blistering hot Mason jars, you can also sterilize them by spraying them down with a sanitizer. Just make sure you have roughly one gallon of sterilized water for the yeast washing process.
Once you properly sterilize your equipment for yeast washing, you can bottle, keg, or rack your beer to a secondary vessel for conditioning.

Our recommended NO-RINSE brewing sanitizer (acid-based) of choice with easy measurement built in. Plus, the foaming action helps sanitize all the nooks and crannies. Don't fear the foam!
Ready to improve your all-grain brewing process and dial in your system?
This video course covers techniques and processes for water chemistry, yeast health, mashing, fermentation temperature, dry-hopping, zero-oxygen packaging and more!
Click Here to Learn More
How to Harvest Yeast
Before you can start washing yeast, you have to collect the culture from your primary fermentation. The process changes depending on what kind of fermenter you use. (If you want to harvest yeast before fermentation ends, you can always try top cropping.)
Harvesting from a Conical Fermenter
If you really want to get into yeast harvesting, conical fermenters are the way to go. They resemble industrial brew tanks for a reason: the design makes it easier to collect trub and yeast without disturbing the beer. It also eliminates the need for a transfer to a secondary fermenter.
Trub and yeast are denser than beer, so they naturally settle in layers at the bottom of the conical fermenter.
This process will vary a little depending on which type of conical fermenter you have, but the typical steps to collect the yeast for washing are generally the same. Always consult the product manual for your fermenter to be sure you’re following the correct procedure.
- Once your primary fermentation is complete, close the butterfly valve separating the collection vessel (this can be a small bulb or a Mason jar) from the main tank.
- Remove the collection vessel from the conical fermenter.
- Pour the slurry into a large jar or carboy for yeast washing.
- Reattach the collection vessel to the fermenter and open the valve. You may need to harvest multiple times to get all the yeast and trub out. Try to remove as little beer as possible.
Yeah, it’s that easy. The process might be a little more complex if you need to attach a hose rather before using the butterfly valve, but it’s roughly the same idea. If your fermenter has a spigot instead of a collection vessel, make sure to sanitize the nozzle before you transfer directly to prepared equipment.
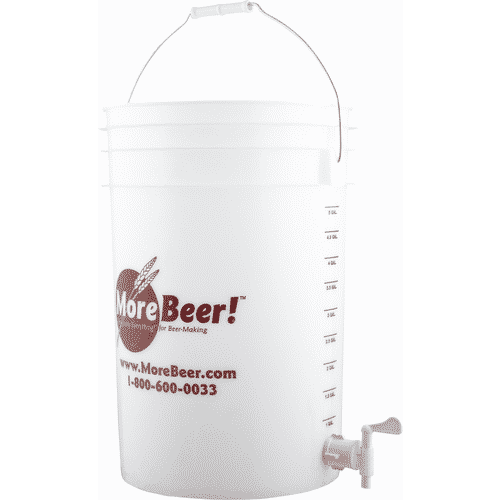
Harvesting from a Brew Bucket
It takes a little more work to harvest yeast from a brew bucket or a carboy, but the process is also pretty easy.
- Bottle, keg, or rack your beer, leaving the yeast cake behind in the brew bucket.
- Pour one gallon of sterilized water over the yeast cake.
- Replace the airlock, and shake the bucket for roughly two minutes. This helps oxygenate the yeast to prepare it for hibernation. You can’t overshake it. The more movement, the better.
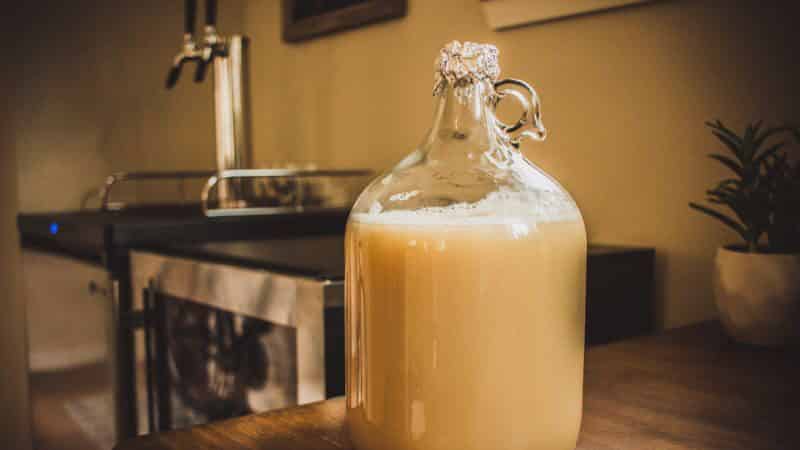
- Let the yeast sit for 20 minutes. If you have a clear carboy or bucket, you’ll begin to see at least two distinct layers develop. The darker, bottom layer is trub.
- Pour the yeast slurry into your prepared large jar or carboy. Try to leave behind as much trub as possible.
And that’s all there is to harvesting yeast from a brew bucket. If you’re using a tap, remember to sanitize the nozzle before you drain off any of the yeast and water slurry.
Note: Shaking the bucket is rinsing the yeast, not washing it. It’s a slight distinction, but an important one. You’ll notice in the washing process, you want to avoid shaking or disturbing the yeast so it can settle properly.
Yeast Washing Process
When you’re reusing yeast, you want to make sure of two things. One, get it into hibernation properly so it doesn’t die before your next brew. Two, prevent contamination.
That second one is the most important part. Your main goal is to separate the actual yeast from the trub and any leftover beer. Once you’ve completed the preparation and harvesting, you’re all set to start the yeast washing.
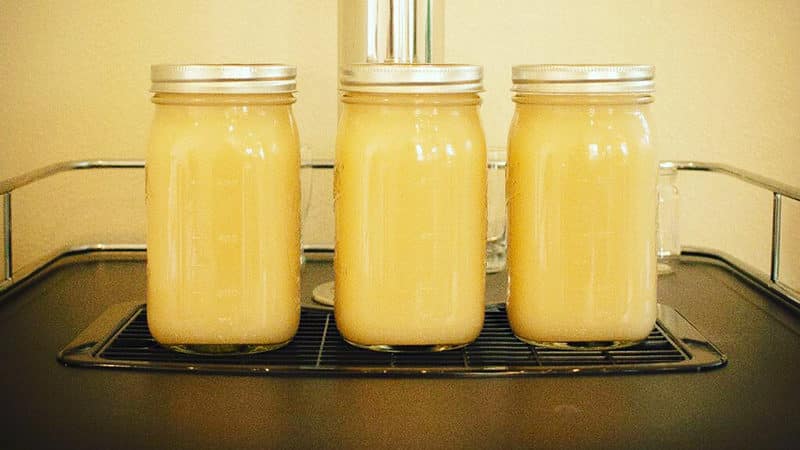
- Once you’ve harvested your yeast slurry, let the jar sit for 30 minutes to 1.5 hours. Be flexible and patient. This step is important. If you disturb the jar, you shake up the yeast, which means it might not settle properly.
- You’ll start to see three distinct layers at the end of the hour. The top layer is a pale tan mix of yeast and water. The middle layer is typically thin and a more solid white. This is all yeast. The bottom layer is trub, which has a darker, brownish color. Carefully pour the top two layers into empty, sterilized jars. Leave behind as much trub as you can. You should be able to distribute the yeast evenly between your four sterilized Mason jars.
- Loosely seal the jars and let your yeast rest for another 30 minutes to 1 hour.
- At the end of your second rest, you should see only two layers—a top yeast and water layer and a bottom yeast layer. (If you have a little trub at the bottom, don’t worry. You’ll be fine.)
- Spray down the lids with your sanitizing spray before tightly recapping them.
- Place the jars in the refrigerator until you’re ready for your next brew.
Yeast Care and Shelf Life
Yeast washing is the easy part. The hard part is keeping your yeast alive and healthy for your next brew. This is the huge barrier to entry for us as homebrewers—we brew at a much slower rate than industrial breweries. We just don’t use up yeast that quickly.
But don’t let that intimidate you. While it is best to reuse the yeast immediately, you can force your yeast into hibernation and lengthen the life of the culture.
Your main mission is to keep the cell walls intact. Even while the yeast is hibernating, the cells are using up their glycogen reserves. That’s the carbohydrate in the cell that produces glucose, which is essential for beer. The less glycogen the cells have, the more likely it is they’ll rupture and become useless.
Cold temperatures slow this process, but you have to make sure you don’t freeze the yeast either. Ice crystals can also puncture the cell walls. That’s why you want to keep your yeast between 33°F and 38°F (0°C to 3°C). Those cold temperatures will also help prevent bacteria growth.
Note: Remember yeast insulates well, so make sure you stay at the cooler end of the suggested temperature range. Not enough to freeze the yeast, but enough to keep it from getting too warm while it hibernates.
You generally want to reuse your yeast culture between two days and two weeks of collection. After two weeks, the viability of your yeast drops down to 50%, which is not optimal.
You can still give the old college try after three or four weeks, but we don’t recommend any further than that, unless you have a microscope and you can say with certainty that your yeast is ready to go.

How to Sanitize Yeast
Yeast washing with water generally takes care of most minor bacteria and debris. If you believe your yeast has been contaminated, you might need to introduce an acid that can kill off bacteria without damaging the beer yeast cells. This is called sanitizing or acid washing your yeast.
This should not in any way be confused with acid washed jeans, which should never be worn while homebrewing, or under any other circumstances, unless it’s 1987, and possibly not even then.
Important: If you’re going to sanitize your yeast, be prepared to lose a little viability and cell count. It will probably also blister cell walls and make your yeast sticky. It’s pretty much unavoidable using this process. We don’t recommend sanitizing yeast unless you’re really worried about contamination.
Before You Start
Sanitizing a yeast culture has to happen about two hours before you pitch your yeast. We can’t stress how important the timing is.
Acid washing is a delicate process. The yeast slurry can handle a maximum of two hours of acid exposure outside the wort. After that, you risk some serious cell damage.
Tools
- 1 jar of washed yeast
- Food-grade phosphoric acid or citric acid
- Sterilized instant-read thermometer
- Sterilized stainless steel vessel
- Water pH meter (with calibration solution kit and storage solution)
- Stir plate
Instructions
- Make sure your yeast slurry is between 36°F and 40°F (2°C and 4°C). You need to maintain this temperature throughout the acid washing process. It can cold shock your yeast, but it helps prevent further cell damage.
- Two hours before you pitch, measure the amount of yeast you need for pitching. Transfer the yeast to the stainless steel vessel.
- Measure the pH of your yeast slurry for a baseline reading.
- Working slowly in small increments—and we do mean small, like a few drops at a time—add your acid to the slurry. Mix thoroughly after each addition and measure the pH level. You’re aiming for a level of 2–2.5.
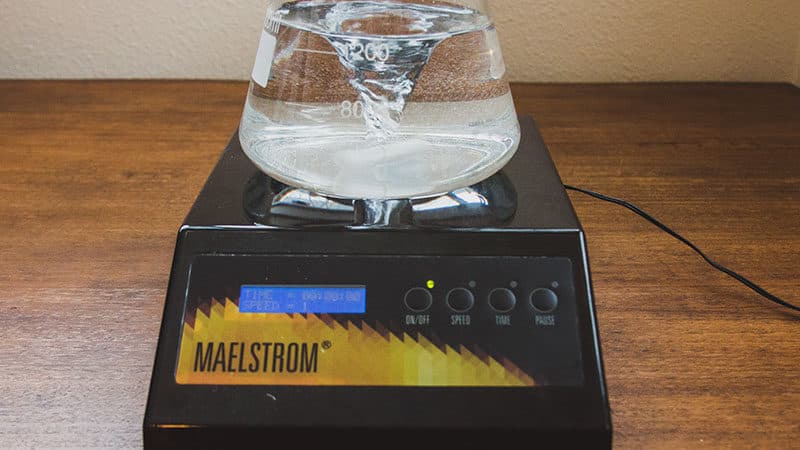
- Once the pH level is between 2 and 2.5, mix and stir constantly for 60 to 90 minutes. If you have a stir plate, use it. If not, get ready for the arm workout of your life.
- Pitch the yeast-acid mixture directly into your fermenter.
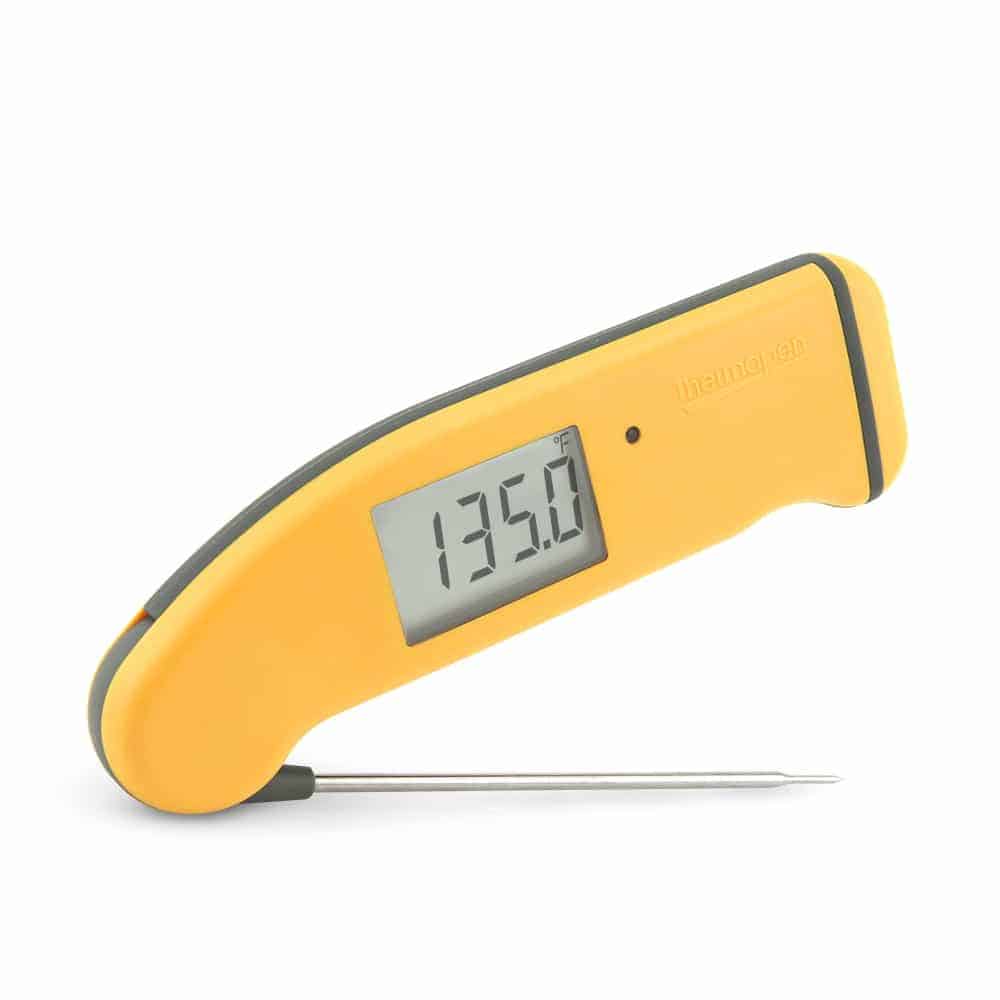
Hands-down the best digital thermometer for brewing. Period. Worth the price 100 times over. Plus, you can use it for cooking 👍
Repitching Your Yeast
So you’ve properly harvested, washed, and stored your yeast culture. Now how do you wake those microbes up for the next round of fermentation?
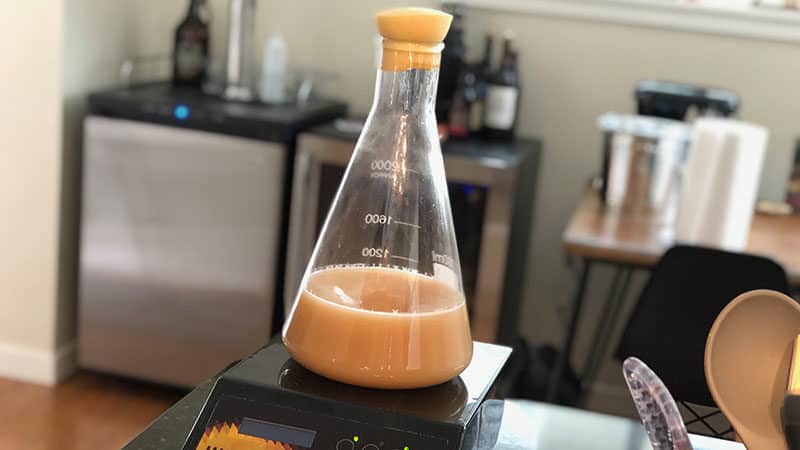
Easy. You make a yeast starter.
The starter wakes up your hibernating yeast and prepares it to feast on your latest wort. Once your starter is ready, go ahead and pitch your yeast. And, if you had a blast washing your yeast, start the whole harvesting process over again.
We recommend that you only harvest a strain five or six times before putting it to rest. After that, the yeast culture may become less effective. Plus, by that point, you’ll probably be ready to try a wonderful new variety of yeast.

Stop the Yeast Waste, Start Harvesting
And there you have it. Just about everything you need to know to start yeast washing to reuse it, and, if worst comes to worst, sanitizing it. Like we said, it isn’t hard—you just have to set the date and take the plunge.
Besides, industrial brewers do it all the time. There’s no reason they should monopolize all the yeast washing fun and benefits, right?
Happy Brewing!